Coinfinity Stacker Printing Instructions
🧱 Coinfinity Stacker Overview All Coinfinity Stackers follow the same print and assembly process. The only difference between them is the internal coin tube diameter and corresponding outer diameter (OD).
There are currently 10 stacker variants that cover a wide range of precious metal coin sizes. Each stacker consists of two parts — a Cap and a Tube — that twist together securely after printing.
🛠️ How to Assemble Print the cap and tube using your preferred material (PETG recommended) Install 25 mm × 4 mm ceramic magnets into the recesses of both parts Insert your NFC-enabled badge into the side slot of the Tube Twist-lock the Cap onto the Tube Scan the badge using the Coinfinity App and track your collection!
STL Files – Buy or Print Yourself
- Buy pre-printed models from Coinfinity.US
- 3D models will be available soon on MakerWorld
To print the stackers, first determine which stacker sizes you want to print. You can look at the Compatible Coins list to determine which coins will fit in each stacker size.
Printing Instructions
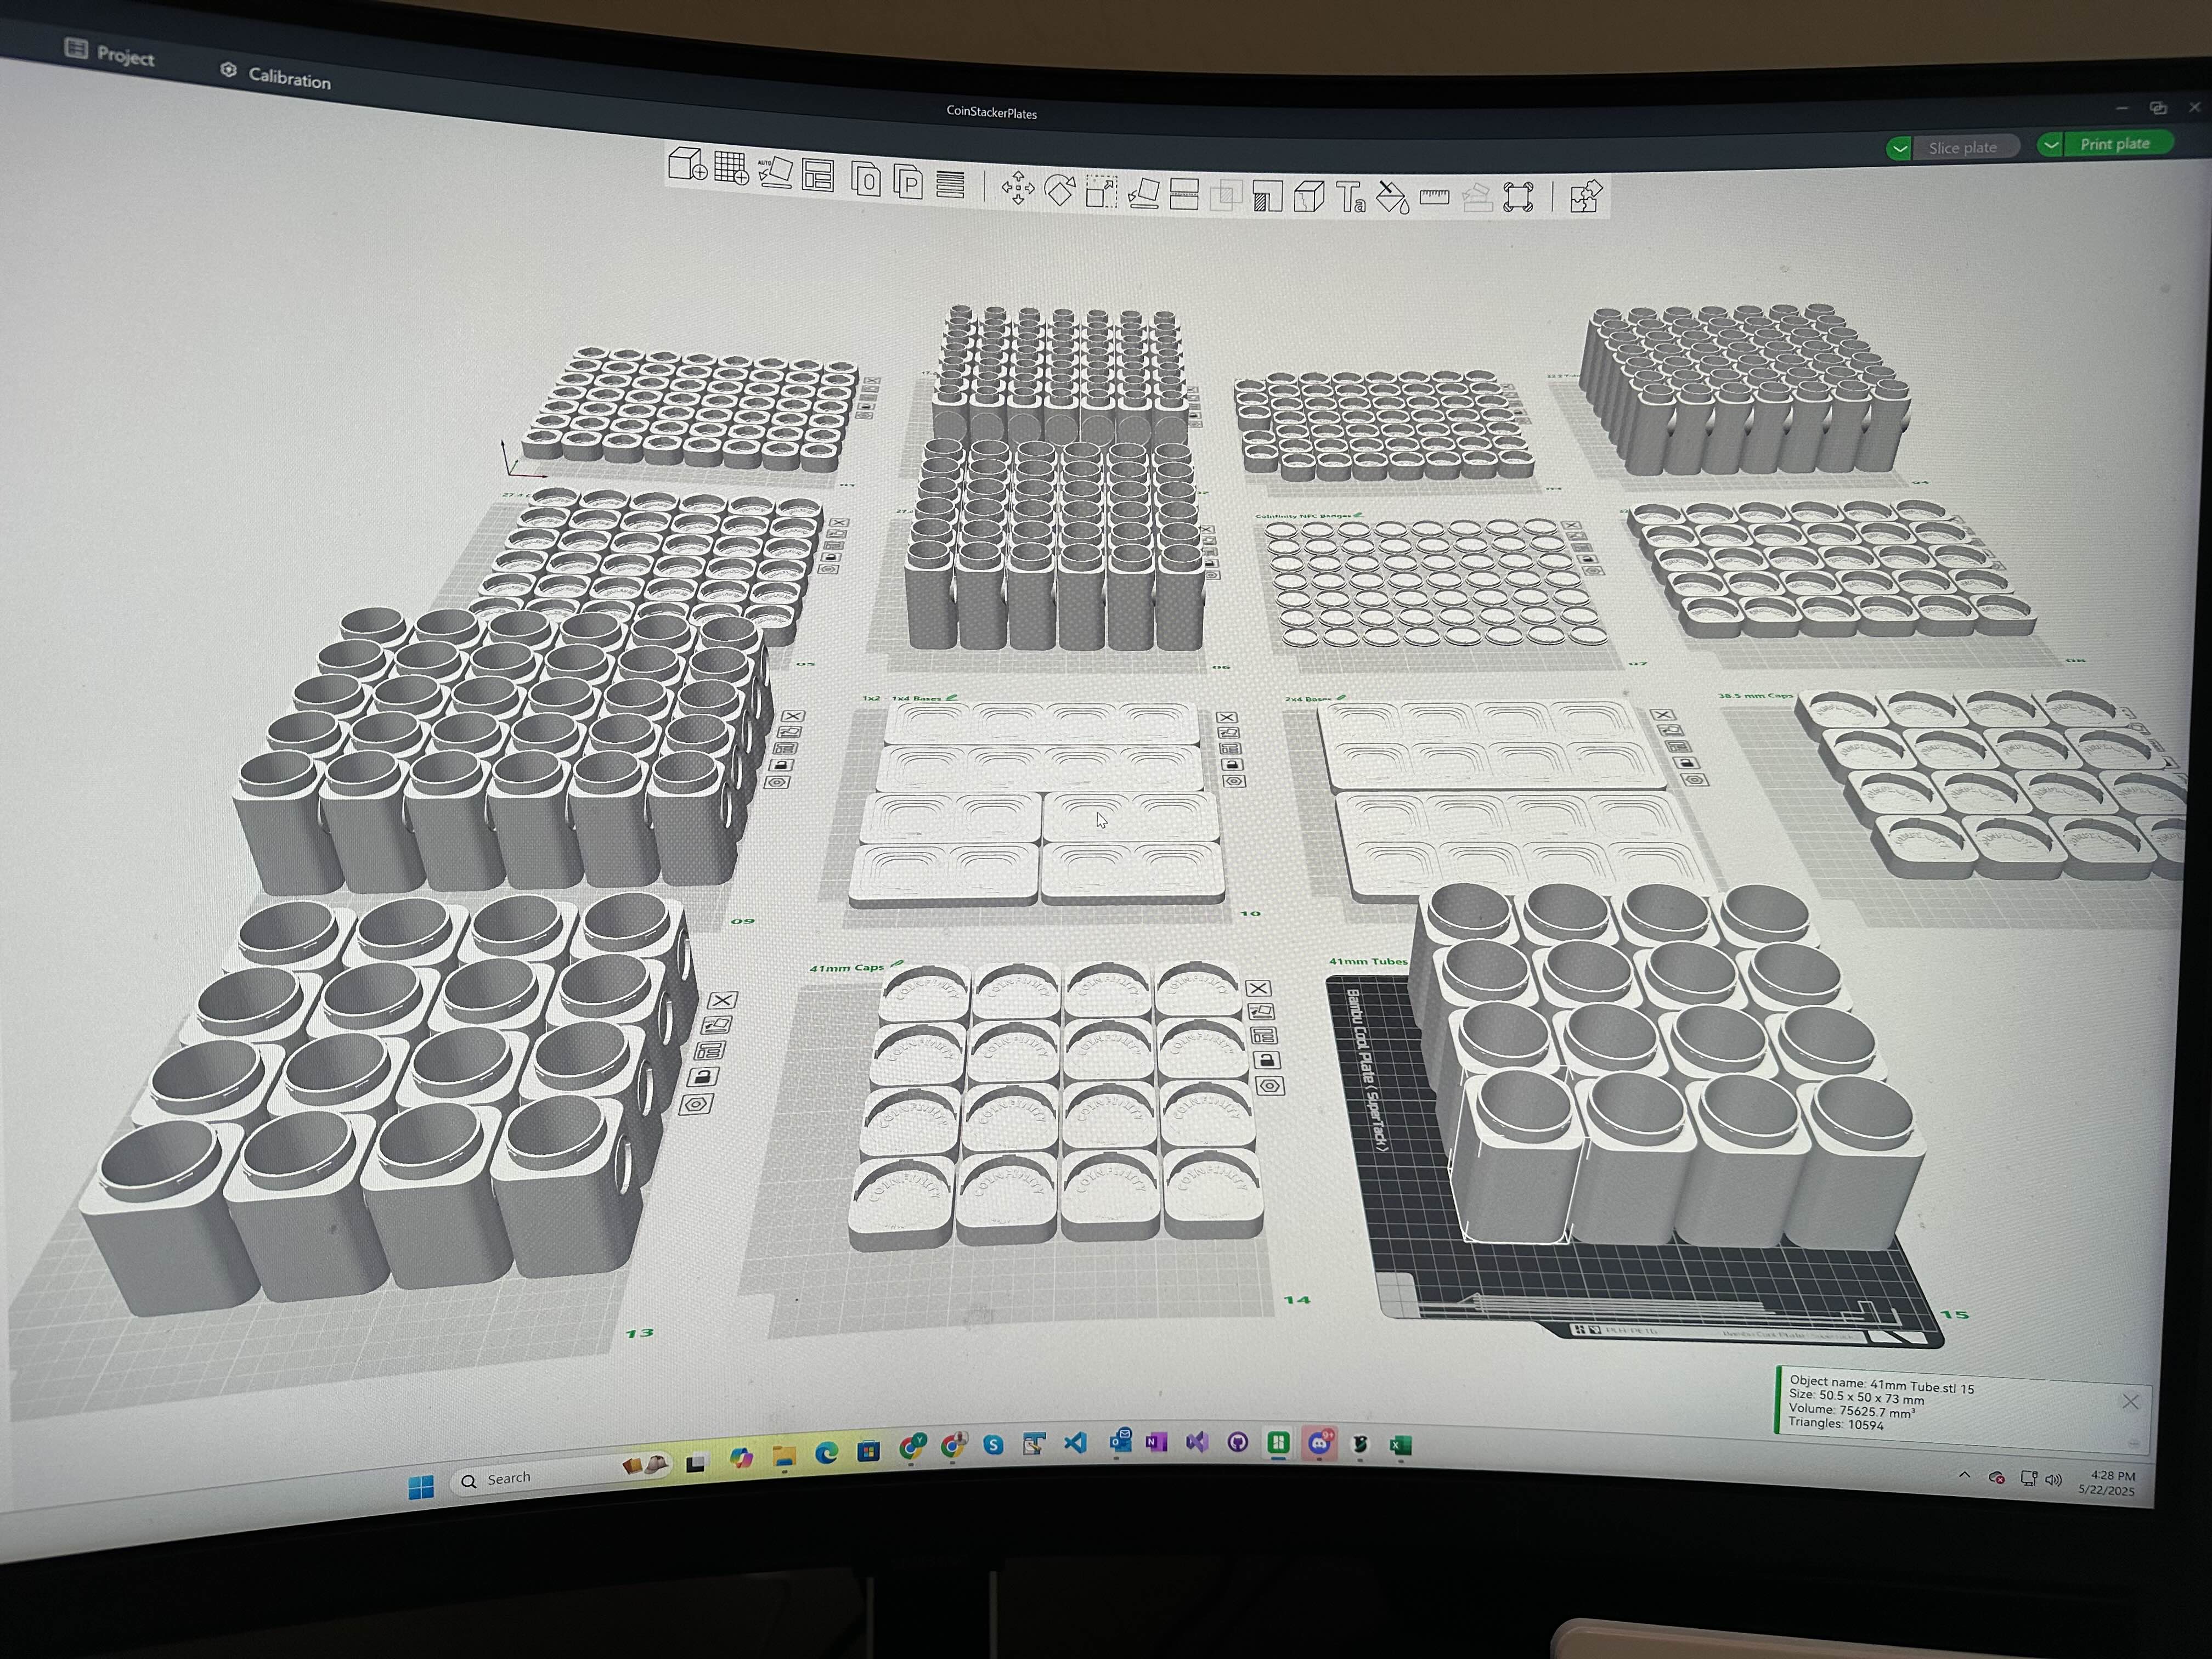
Open Bambu Studio and import the CAP and TUBE files for each stacker size that you want to print. For illustration purposes here, we show all 10 stackers on the same build plate.
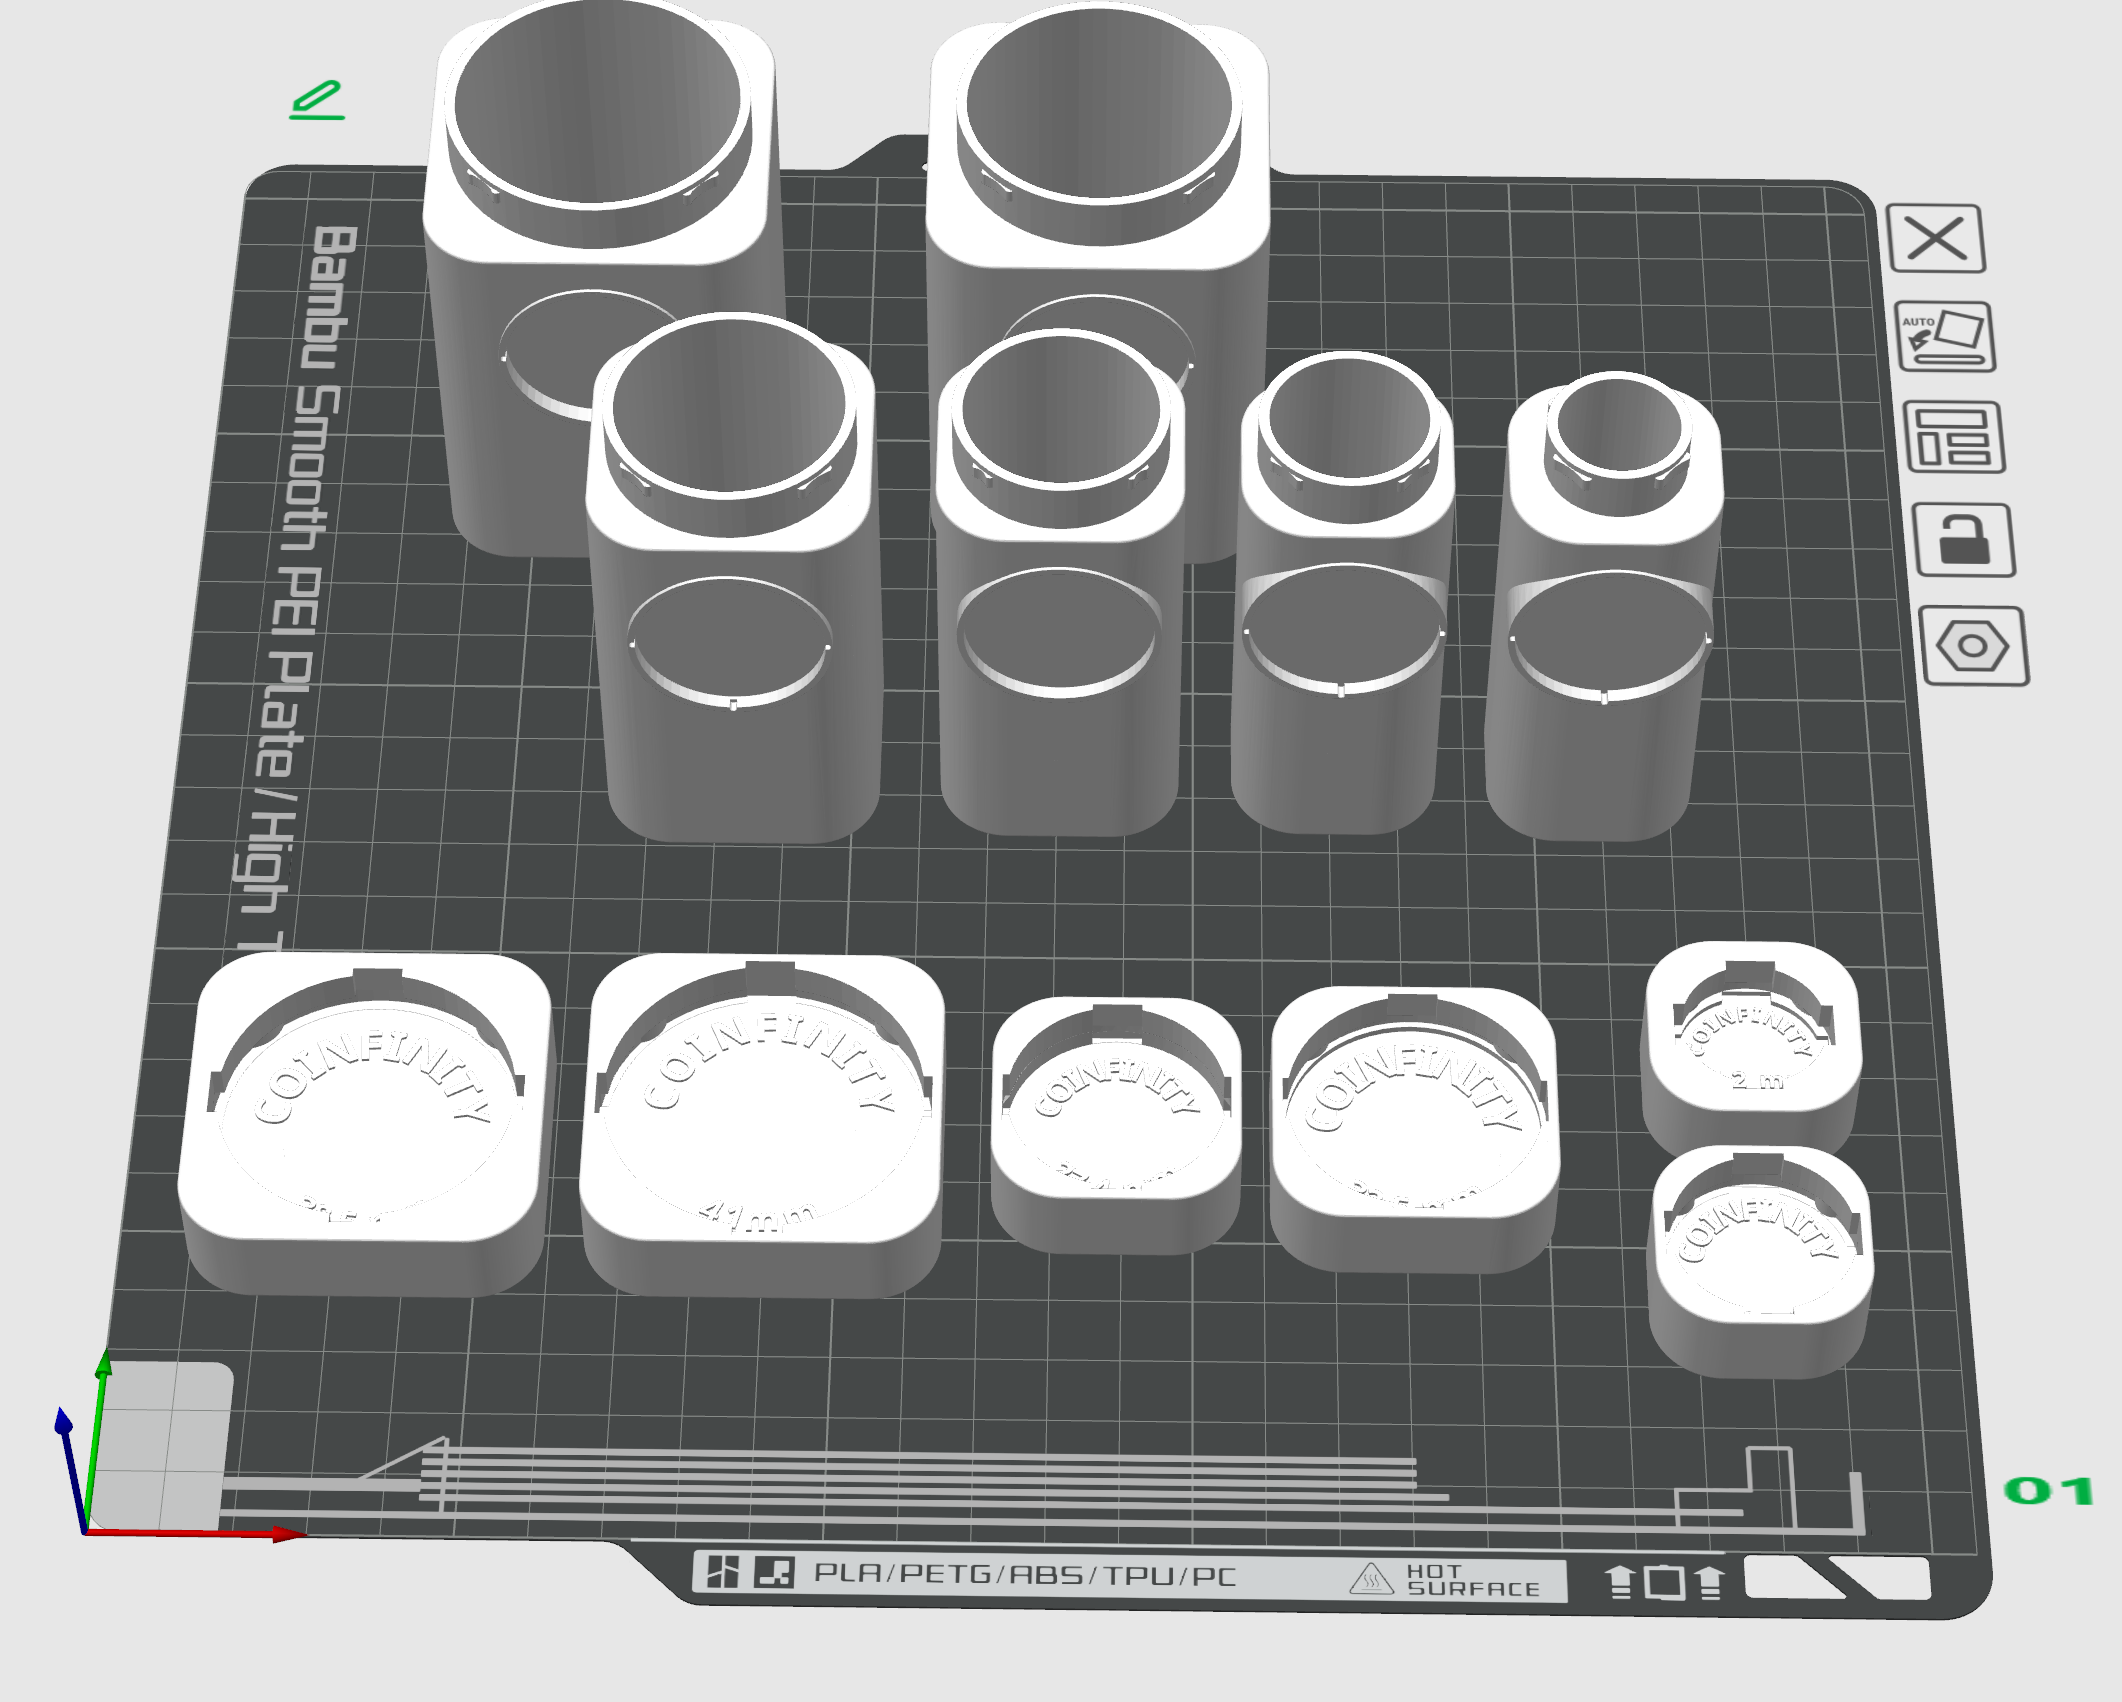
These instructions apply to all of the stacker models.
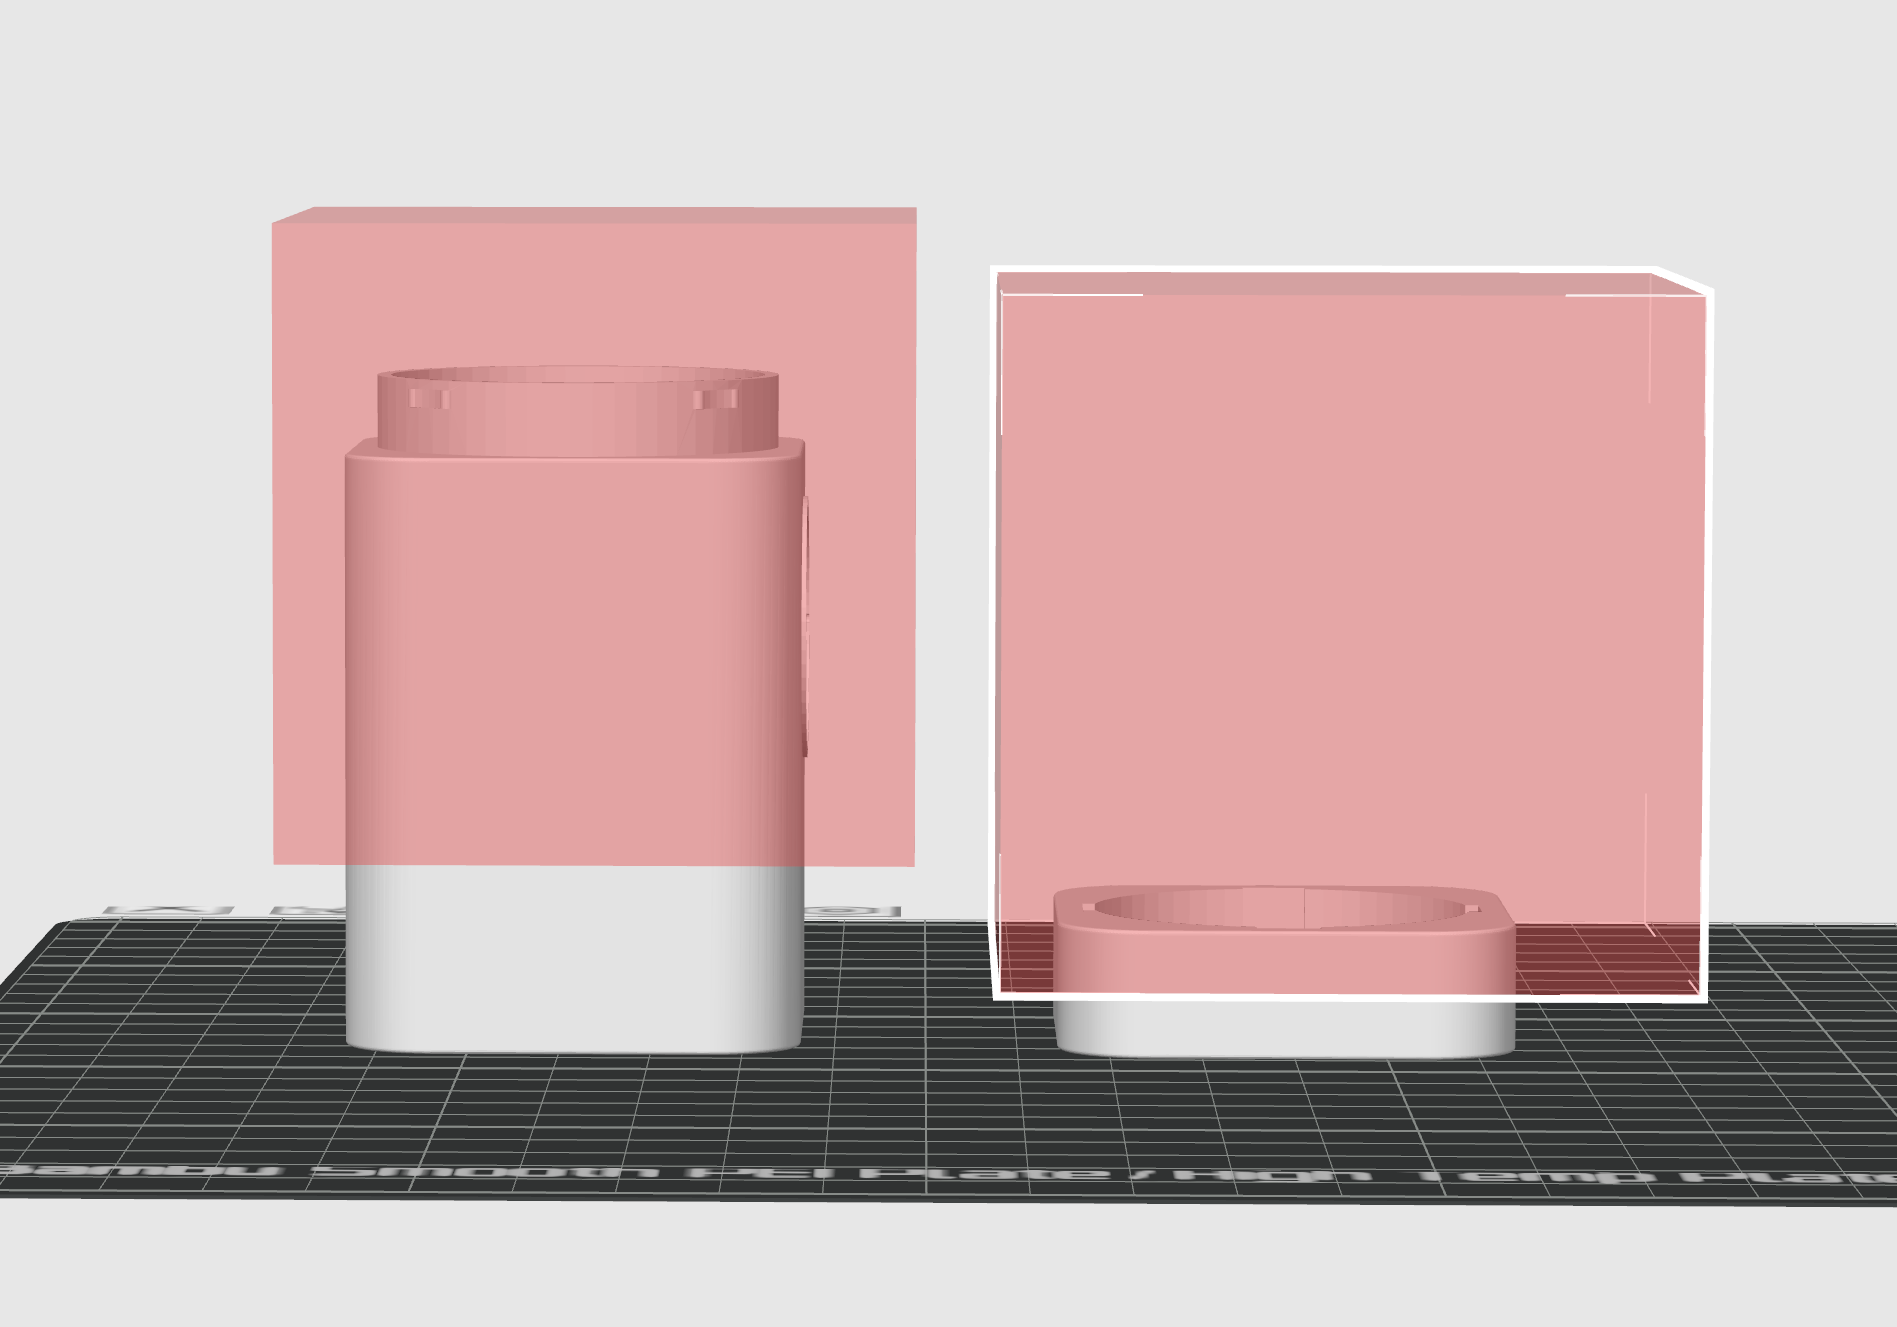
- Print tubes upright (standing vertically)
- Print caps upside down (top side down on the build plate)
- Add pause for magnet insertion (optional)
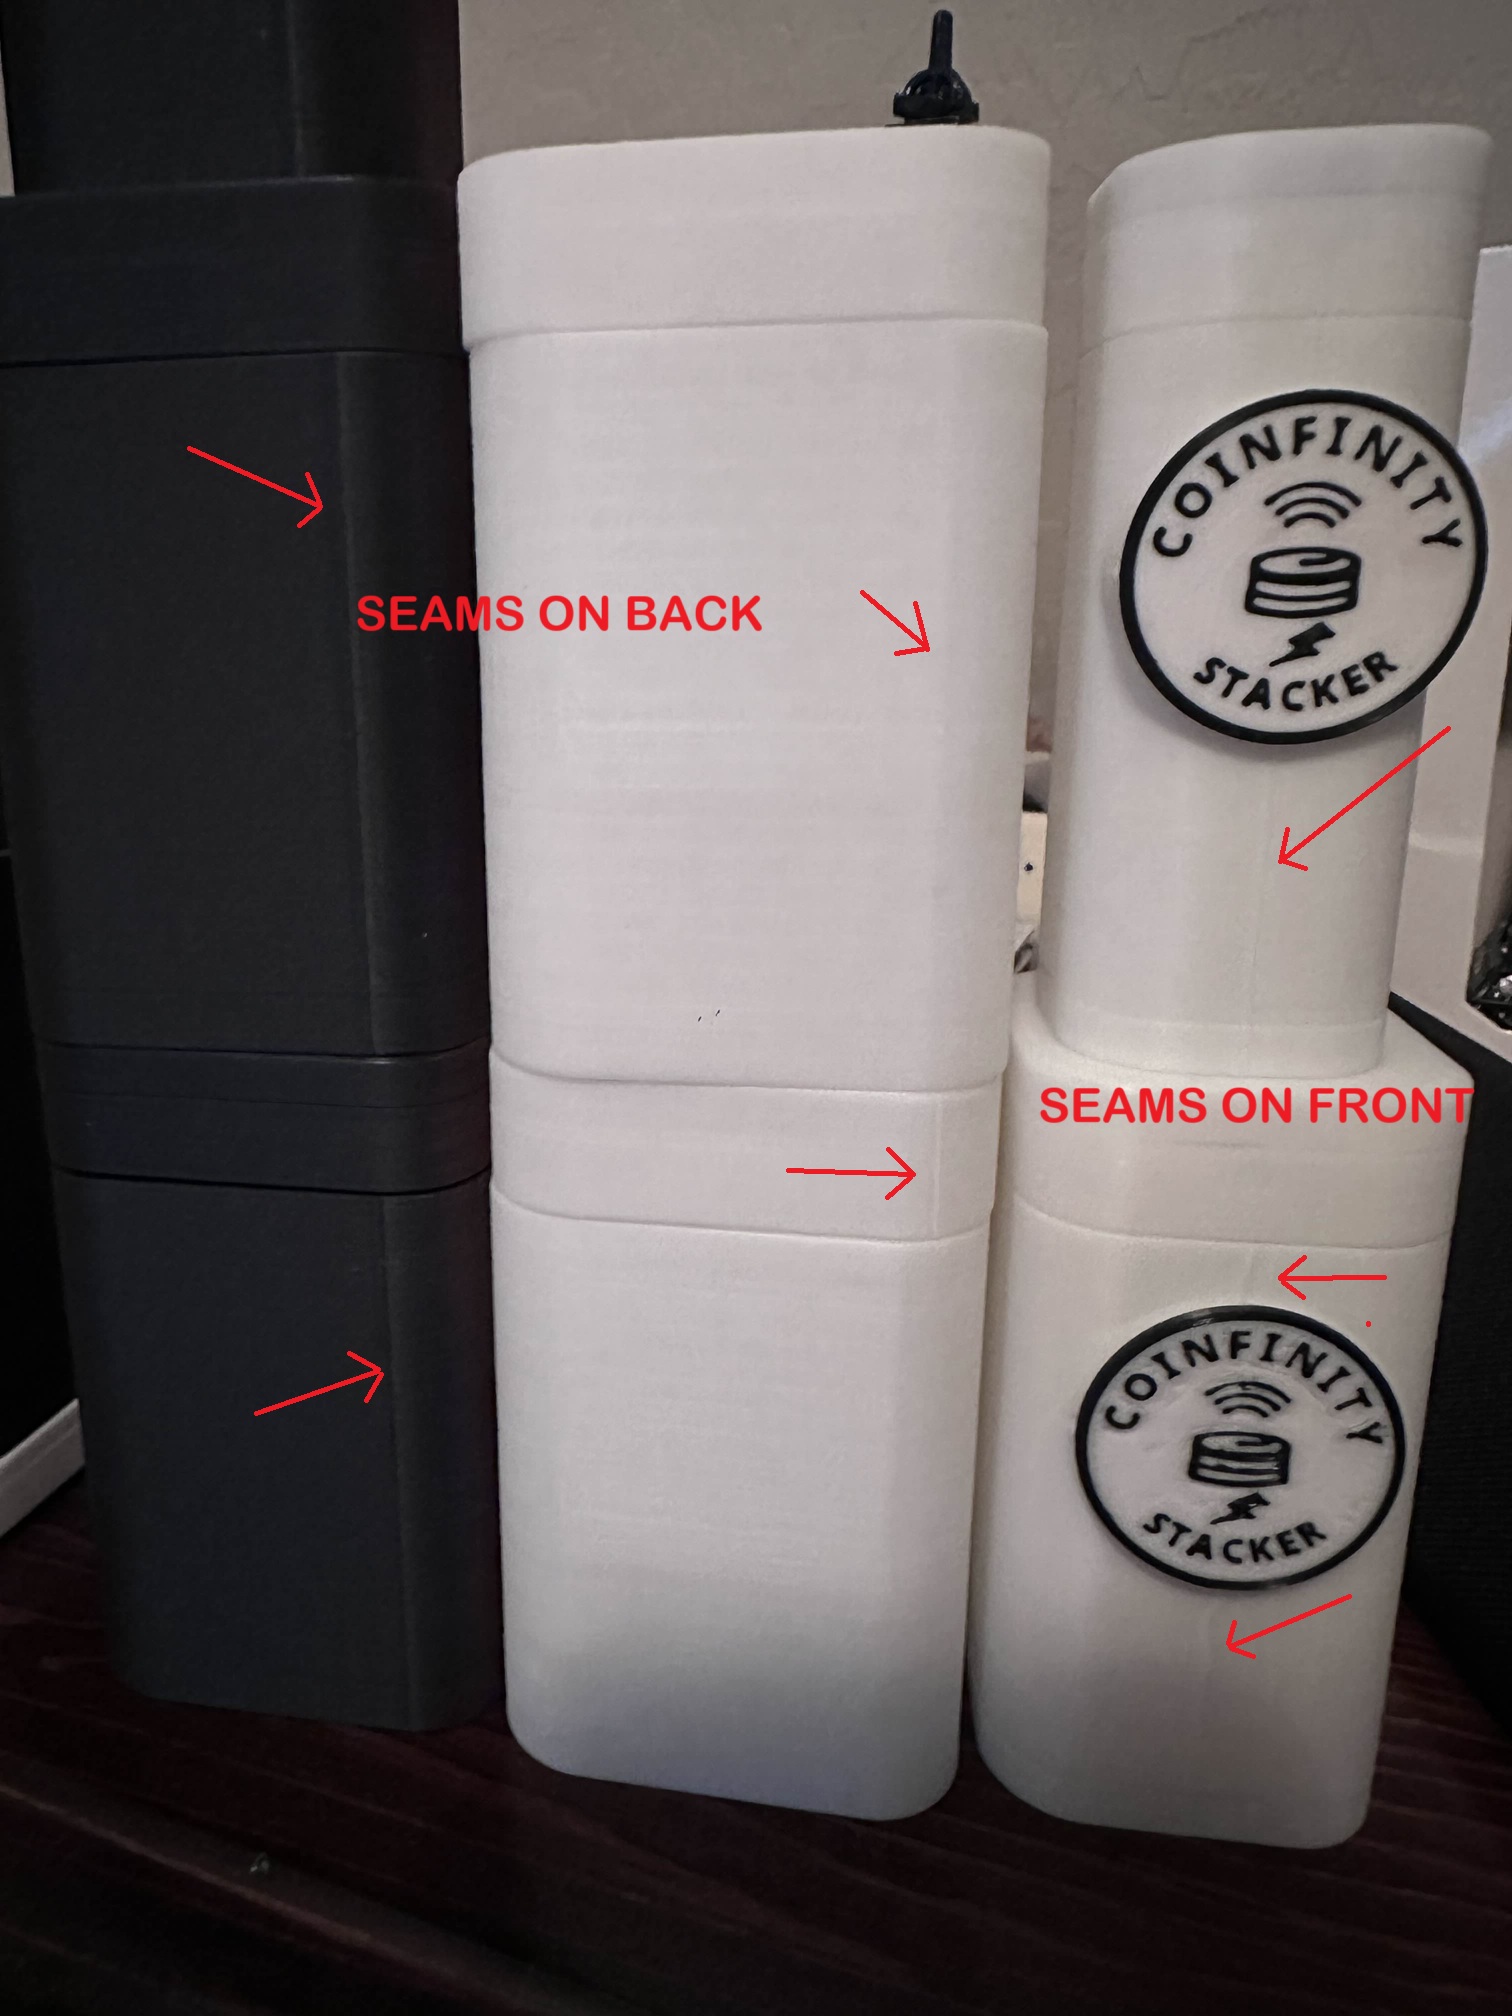
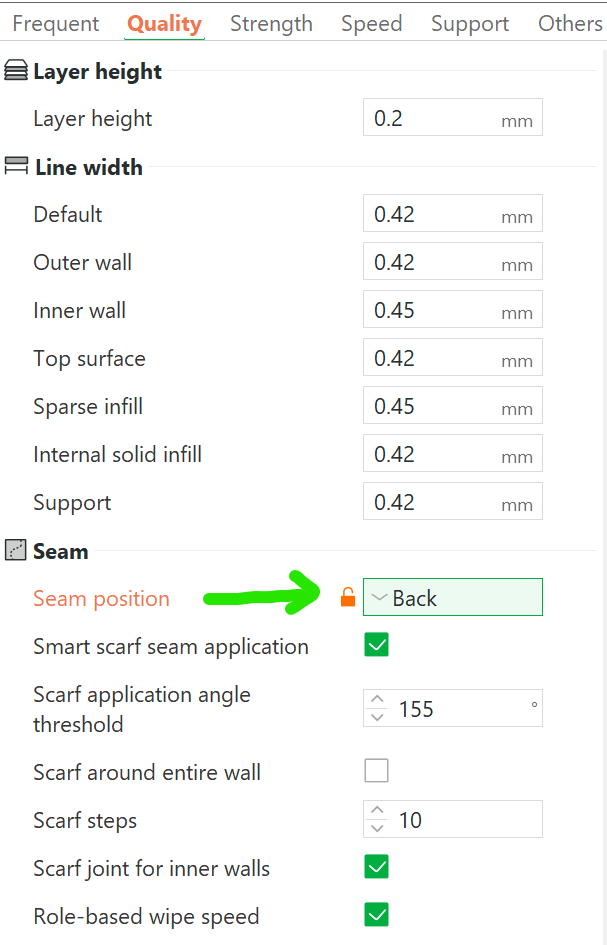
- Orient tubes forward so seams are hidden at the back
- No supports needed if oriented correctly
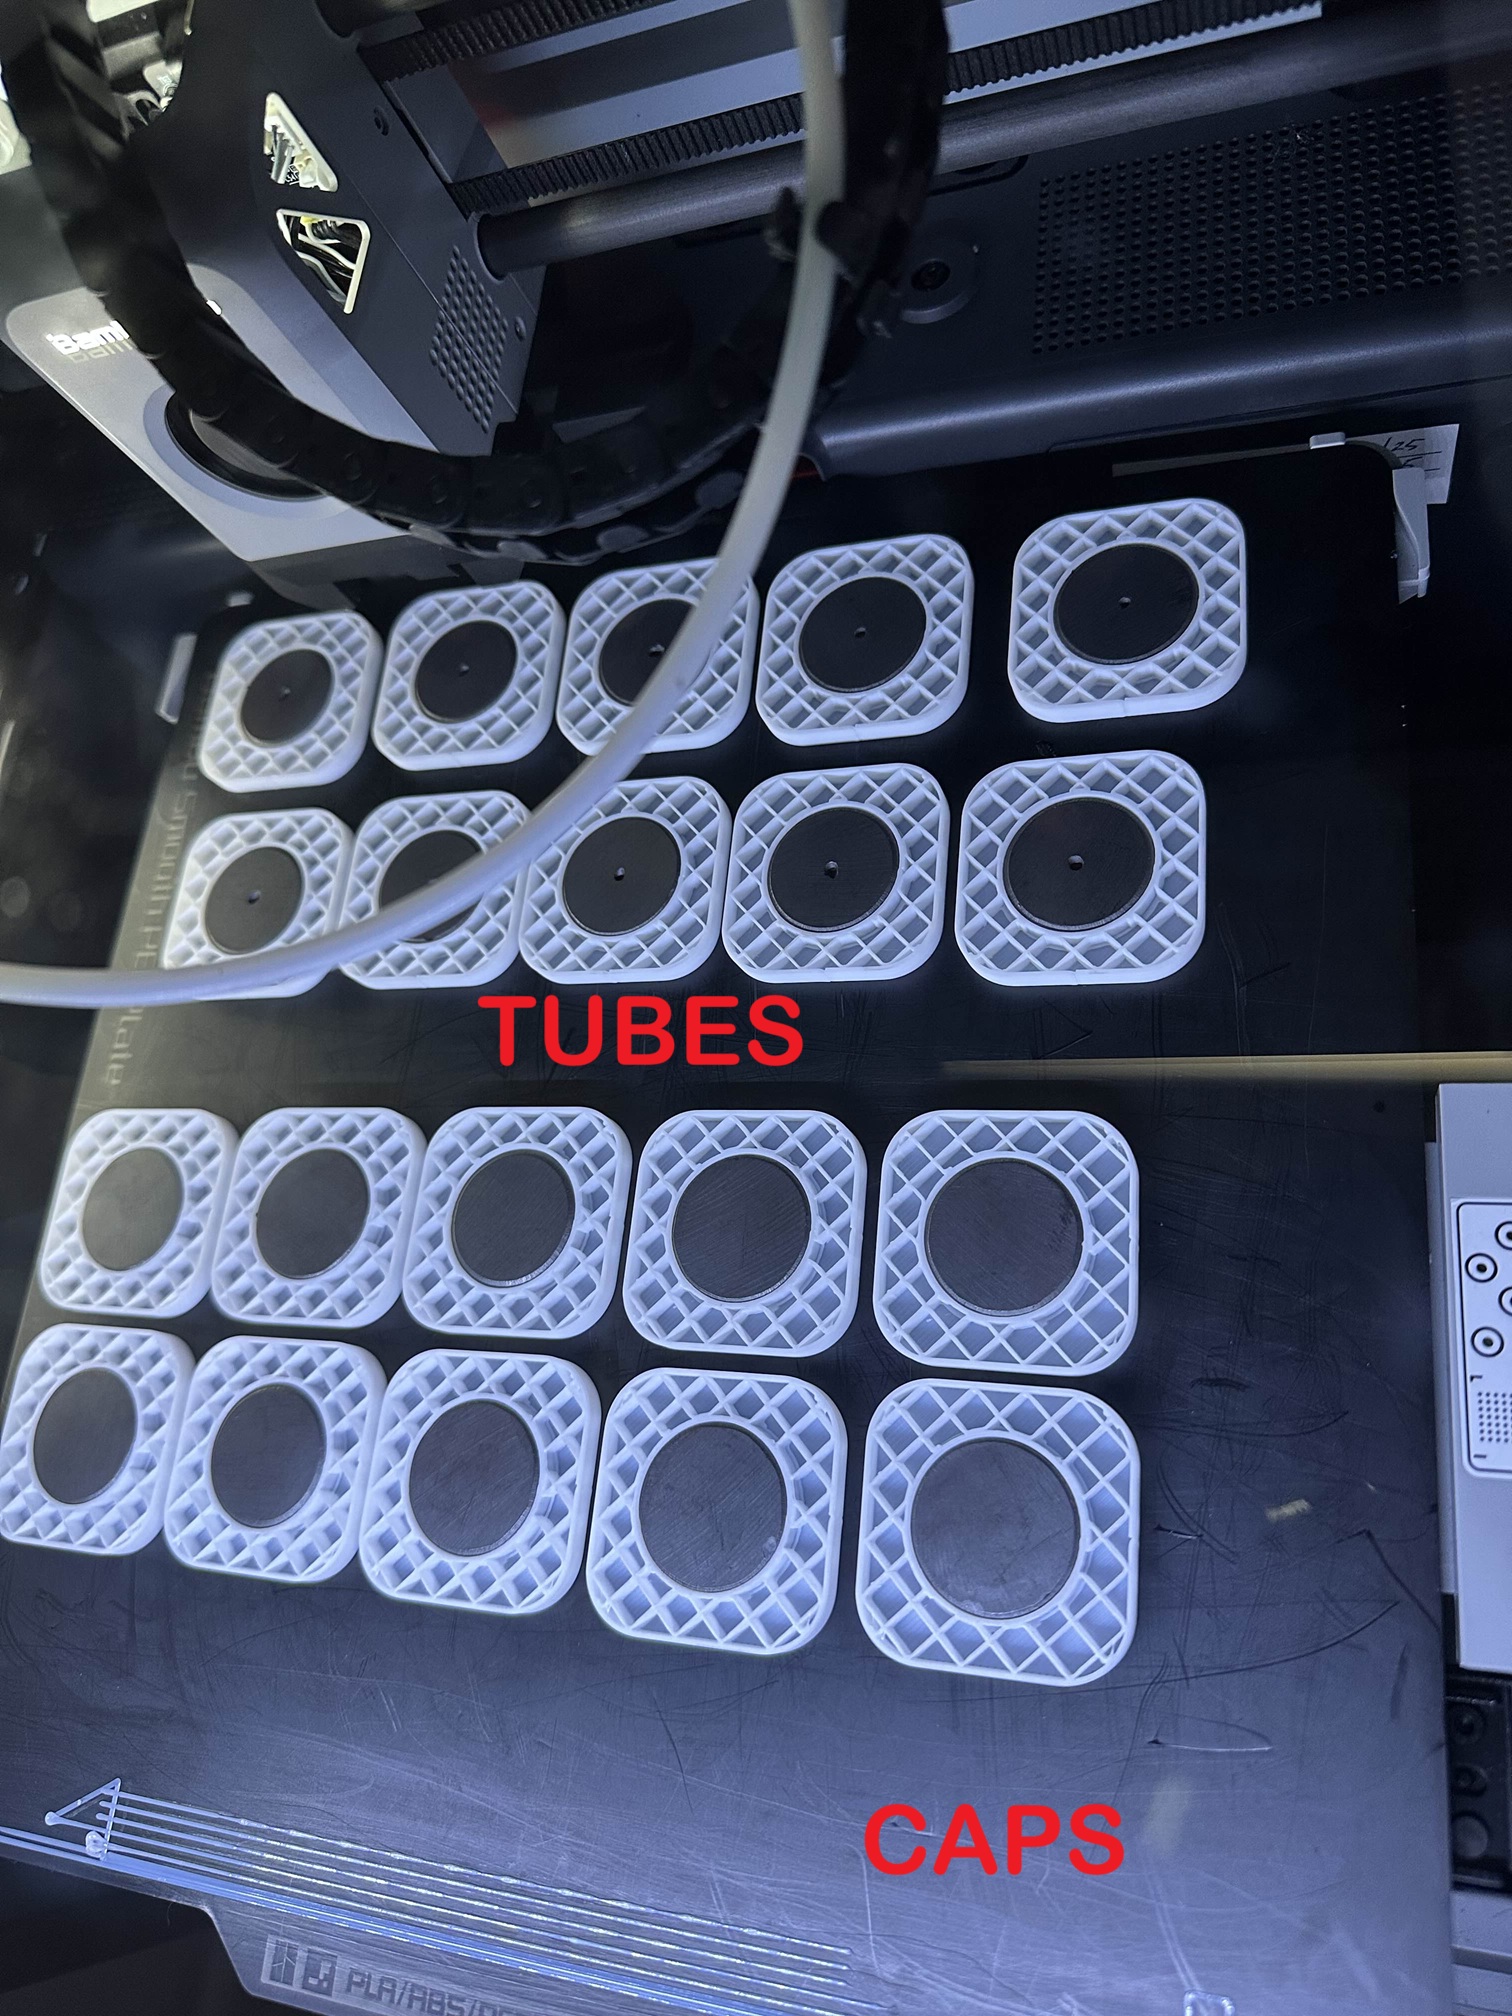
- Group prints: Place caps in the front and tubes in the back to track magnet polarity
- Insert magnets with correct polarity – see Magnets
- Check each model’s page for unique instructions
Quality Tips
- Use high-quality PETG
- Clean your build plate before printing
- Use an enclosure if printing PETG
Slicing Setup

Place tubes upright and facing forward so the seam ends up on the back. Group caps and tubes for easier polarity tracking.
Example: Seam Positioning
When printing many stackers, group:
- Caps in front
- Tubes in back
This helps keep magnet polarities consistent (e.g., North in caps, South in tubes).
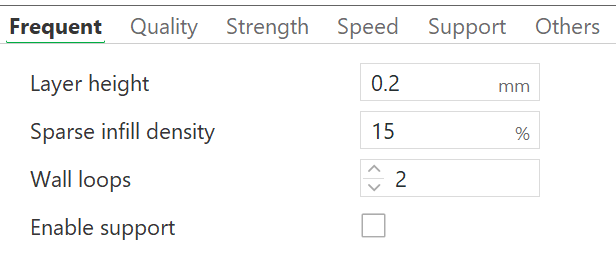
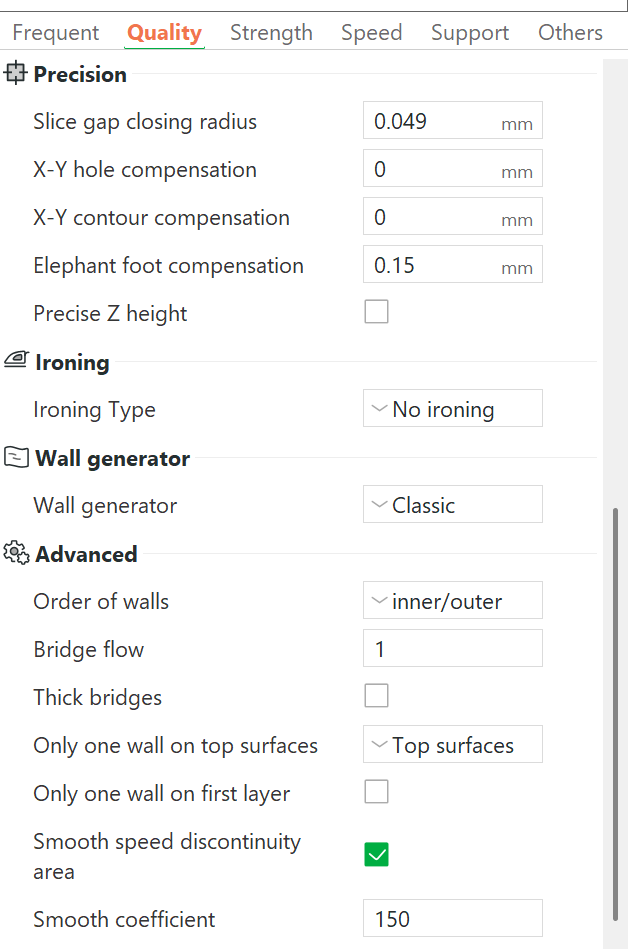
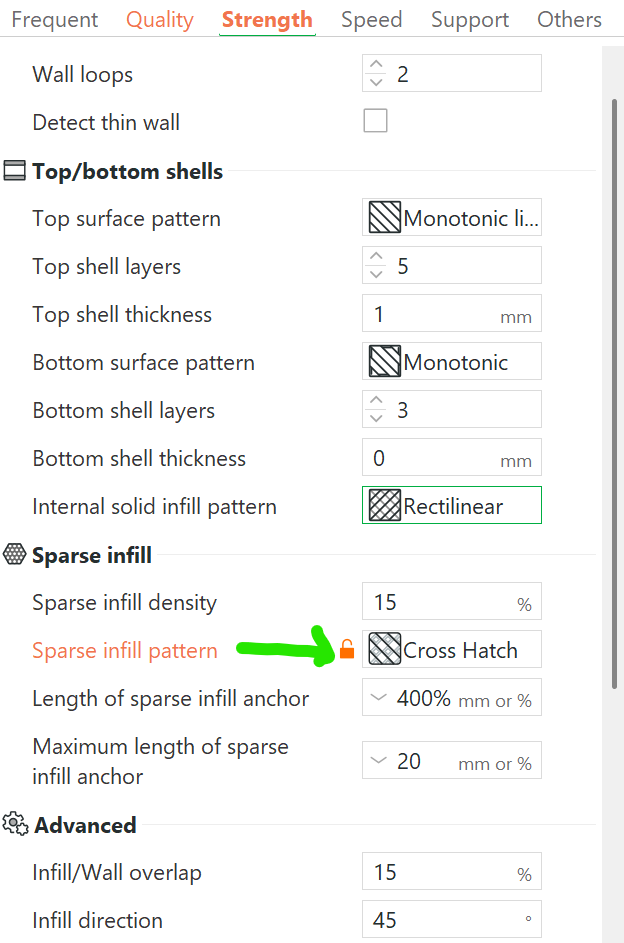
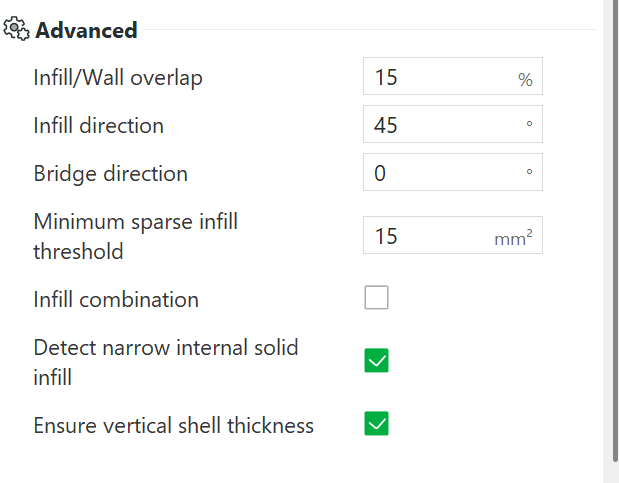
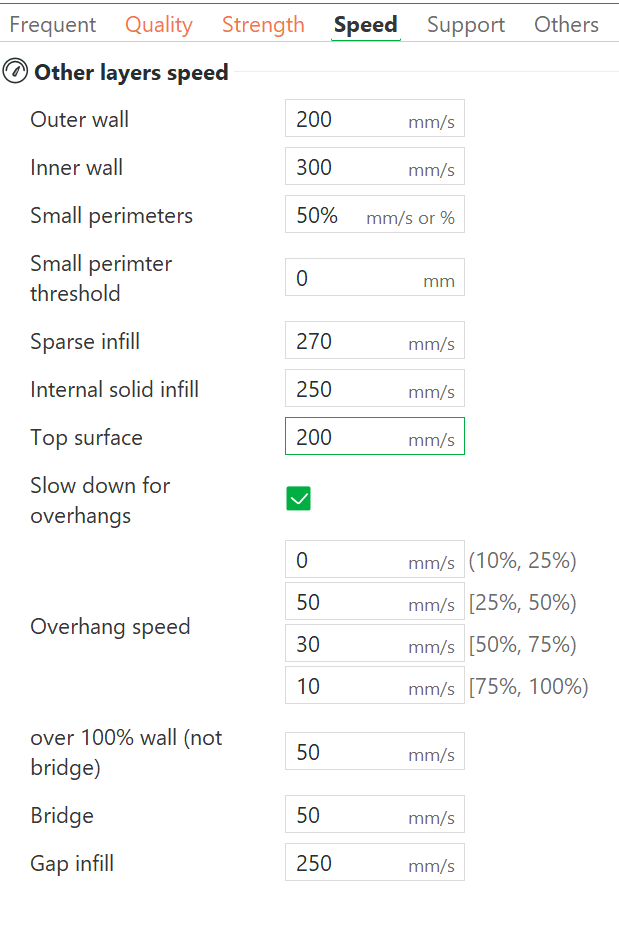
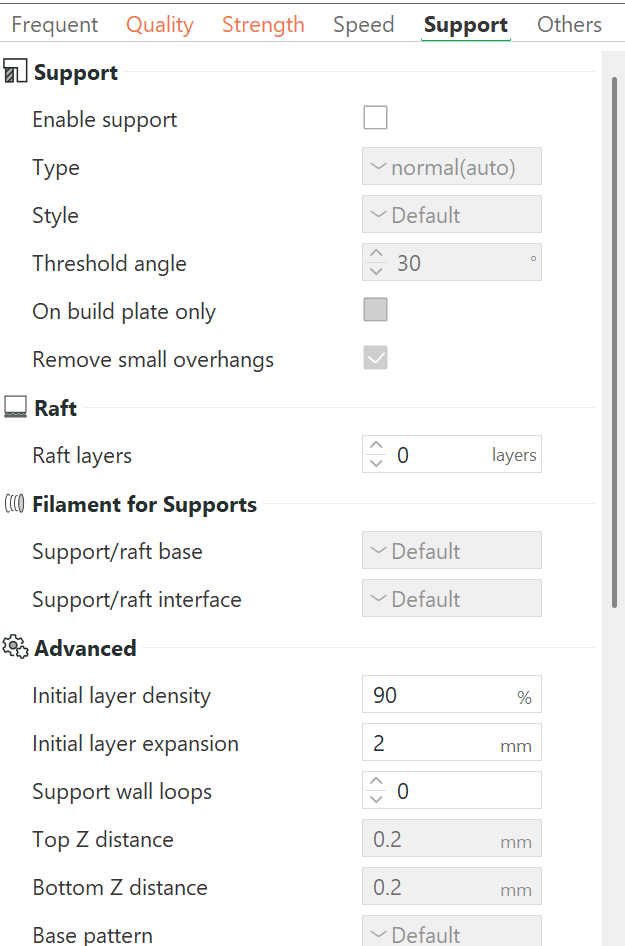
Recommended Print Settings (Bambu Studio Examples)
Adding a Pause for Magnet Insertion
After slicing:
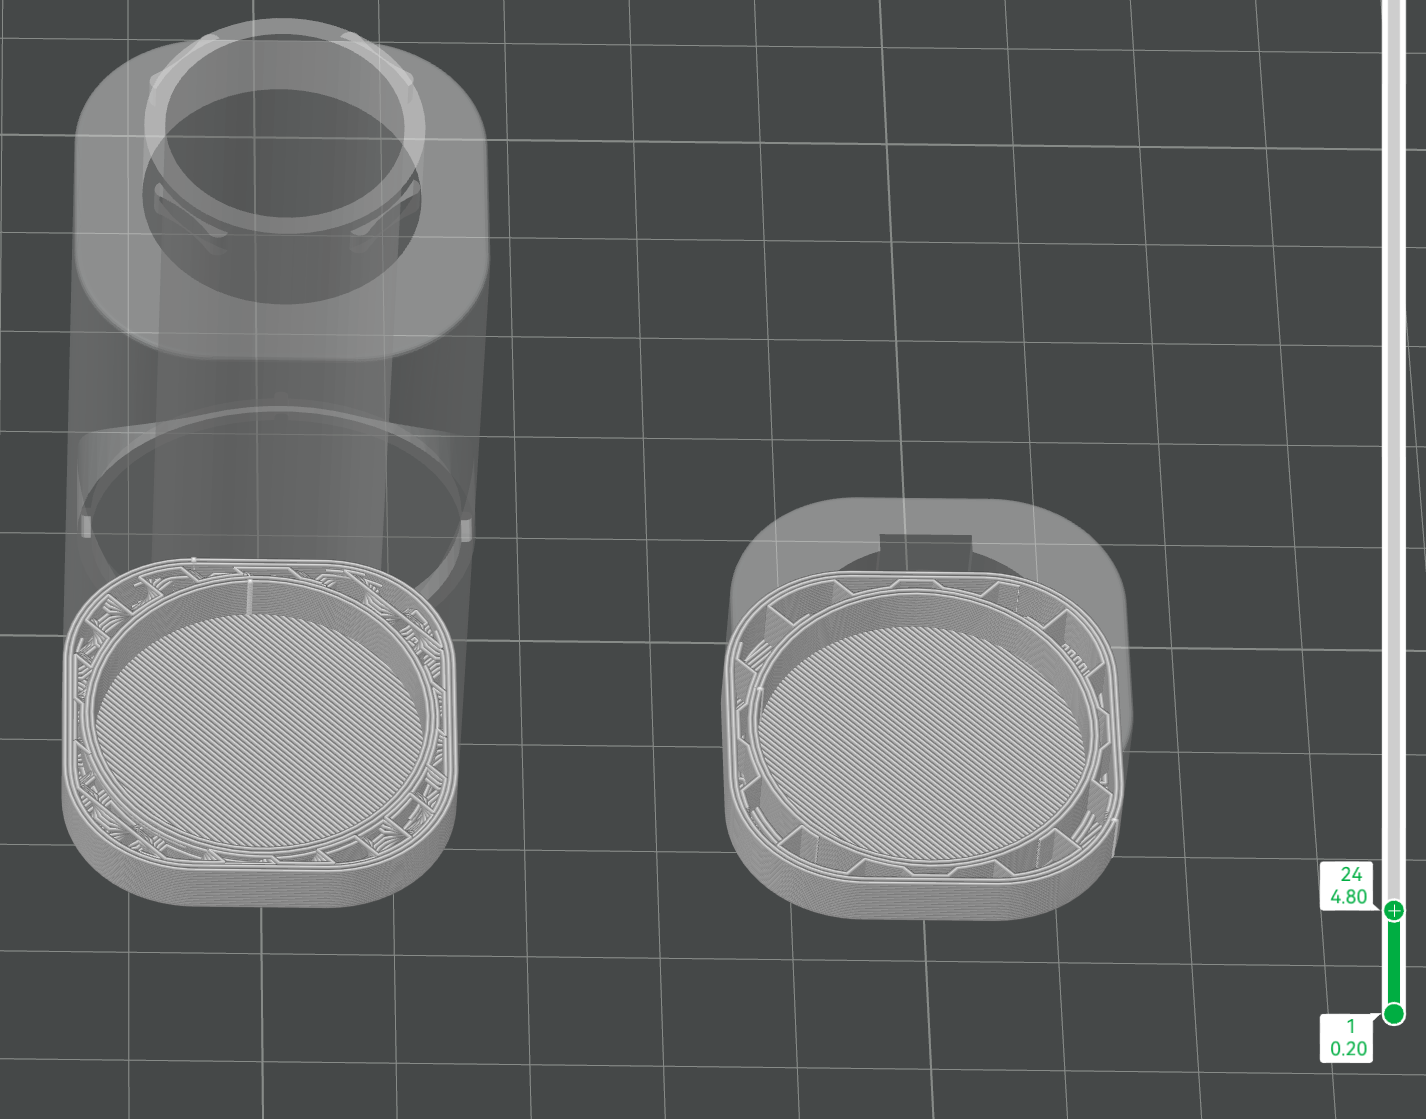
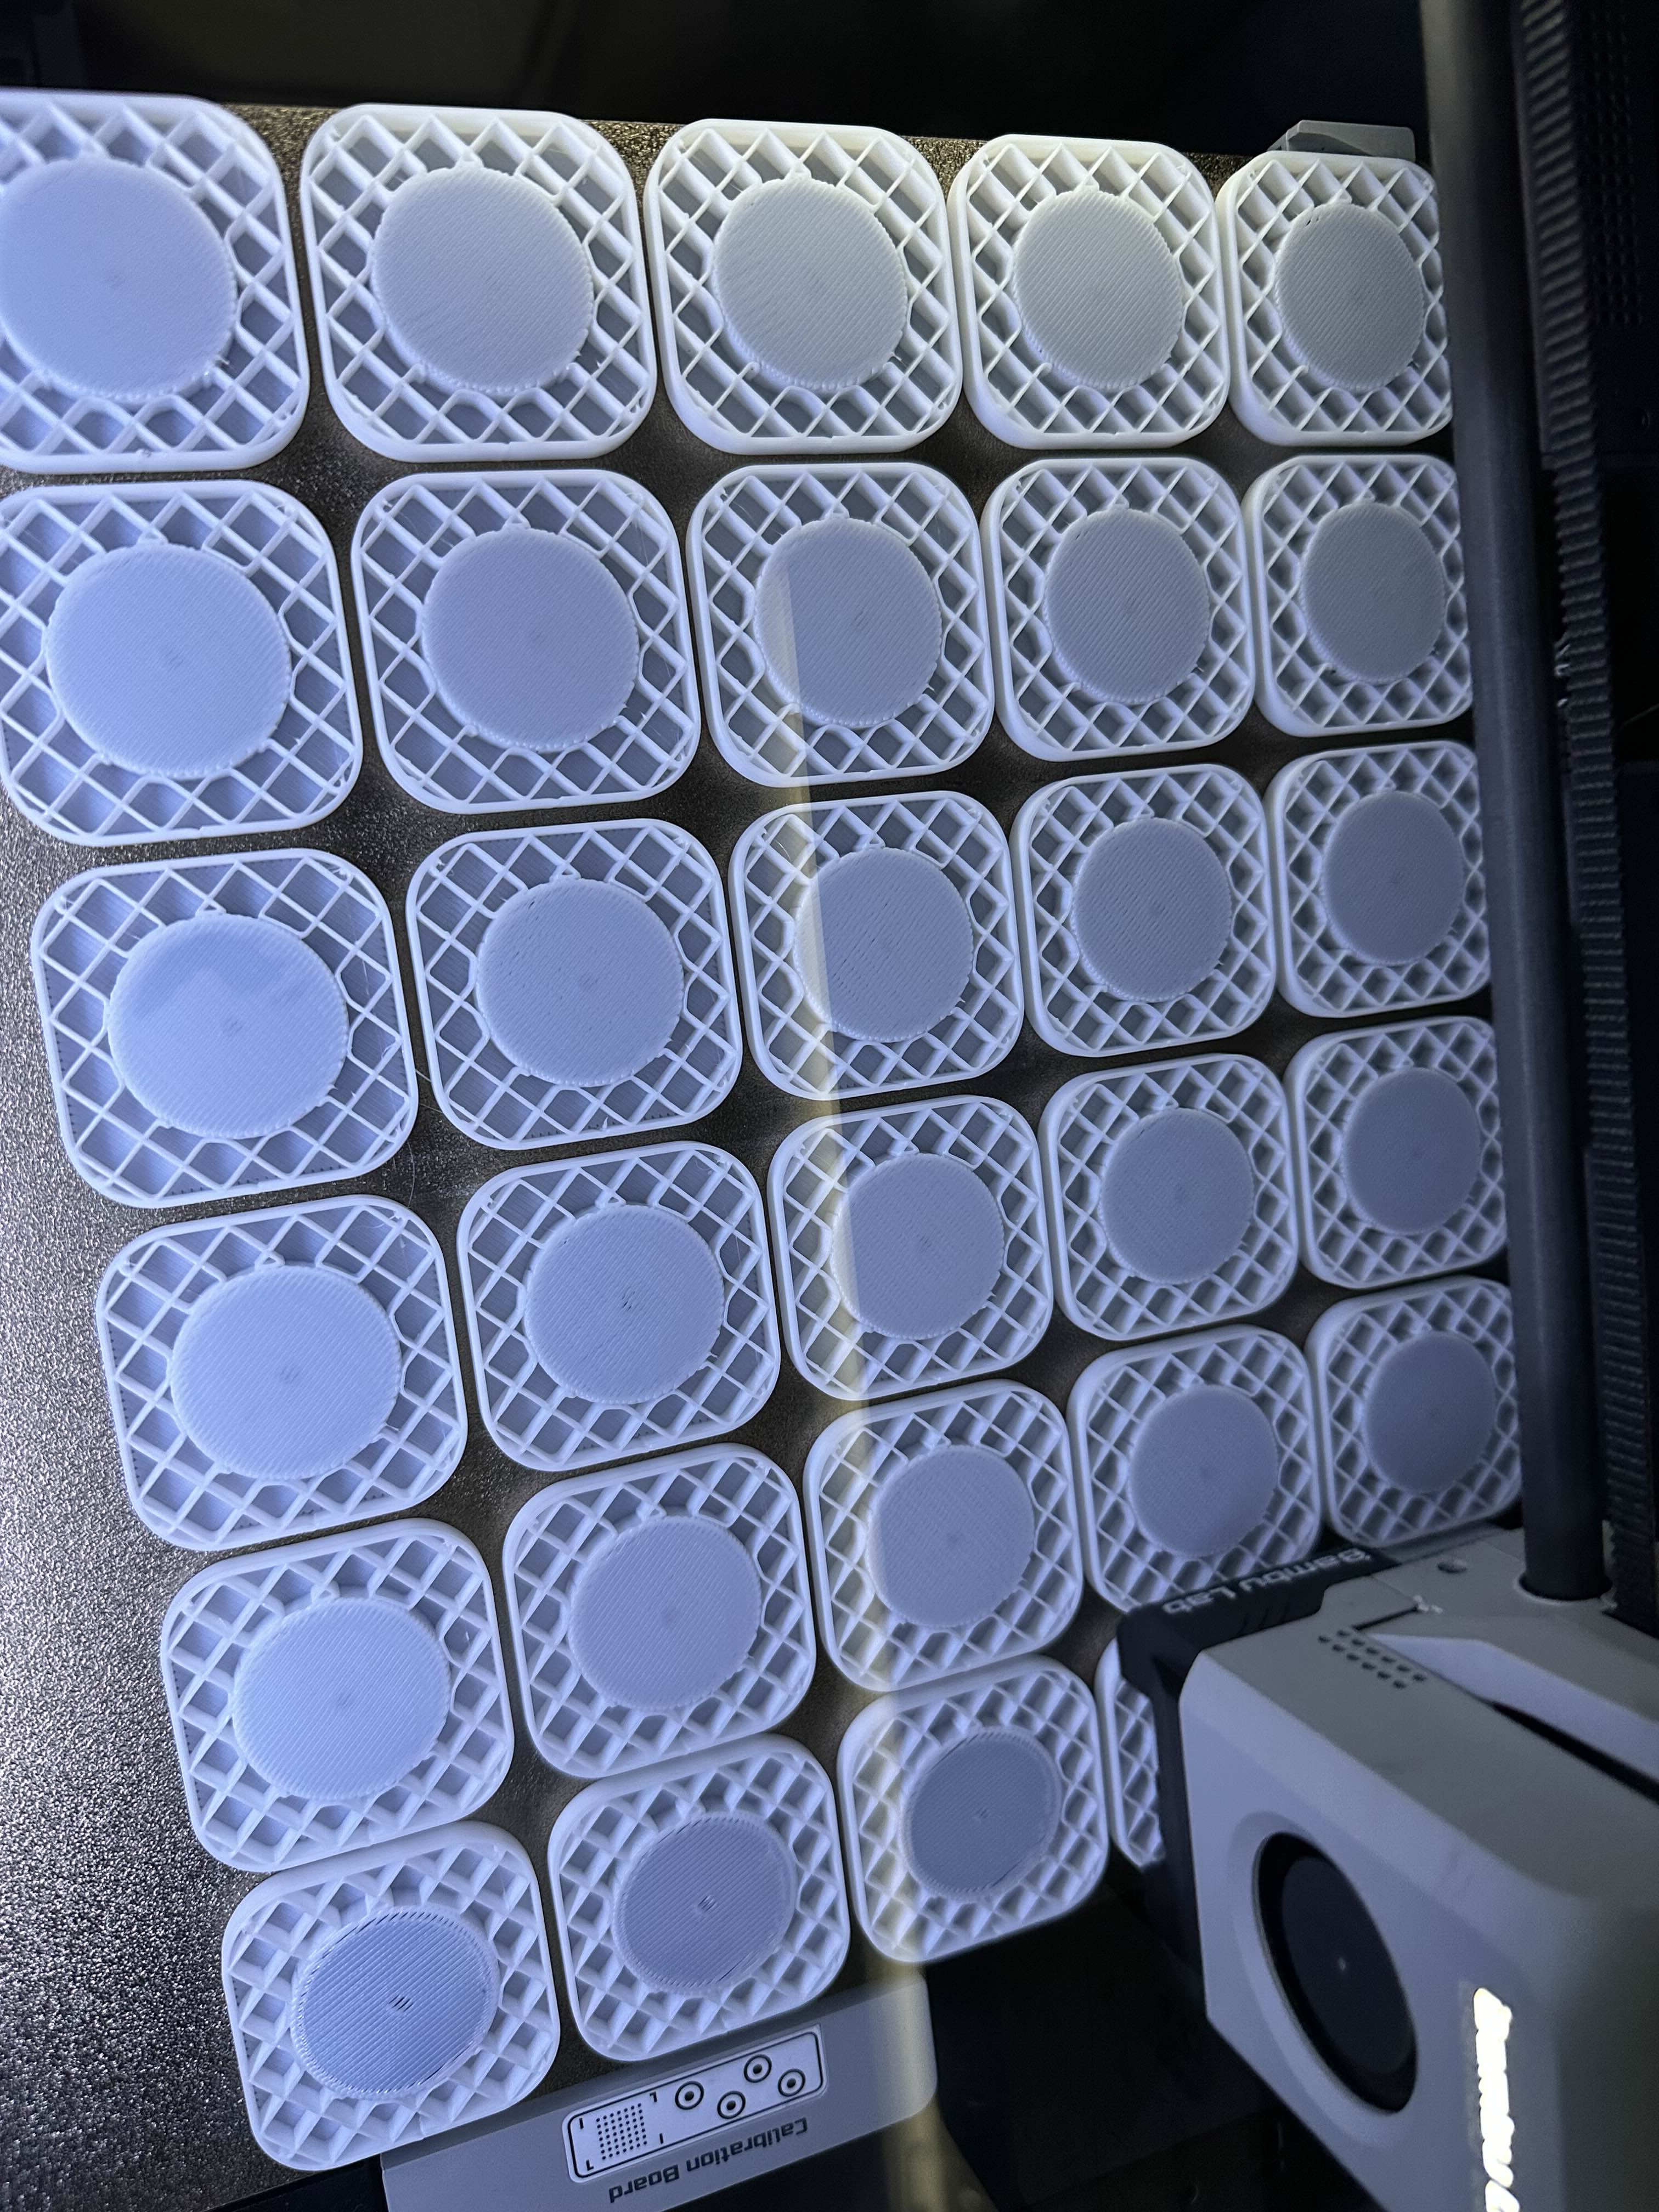
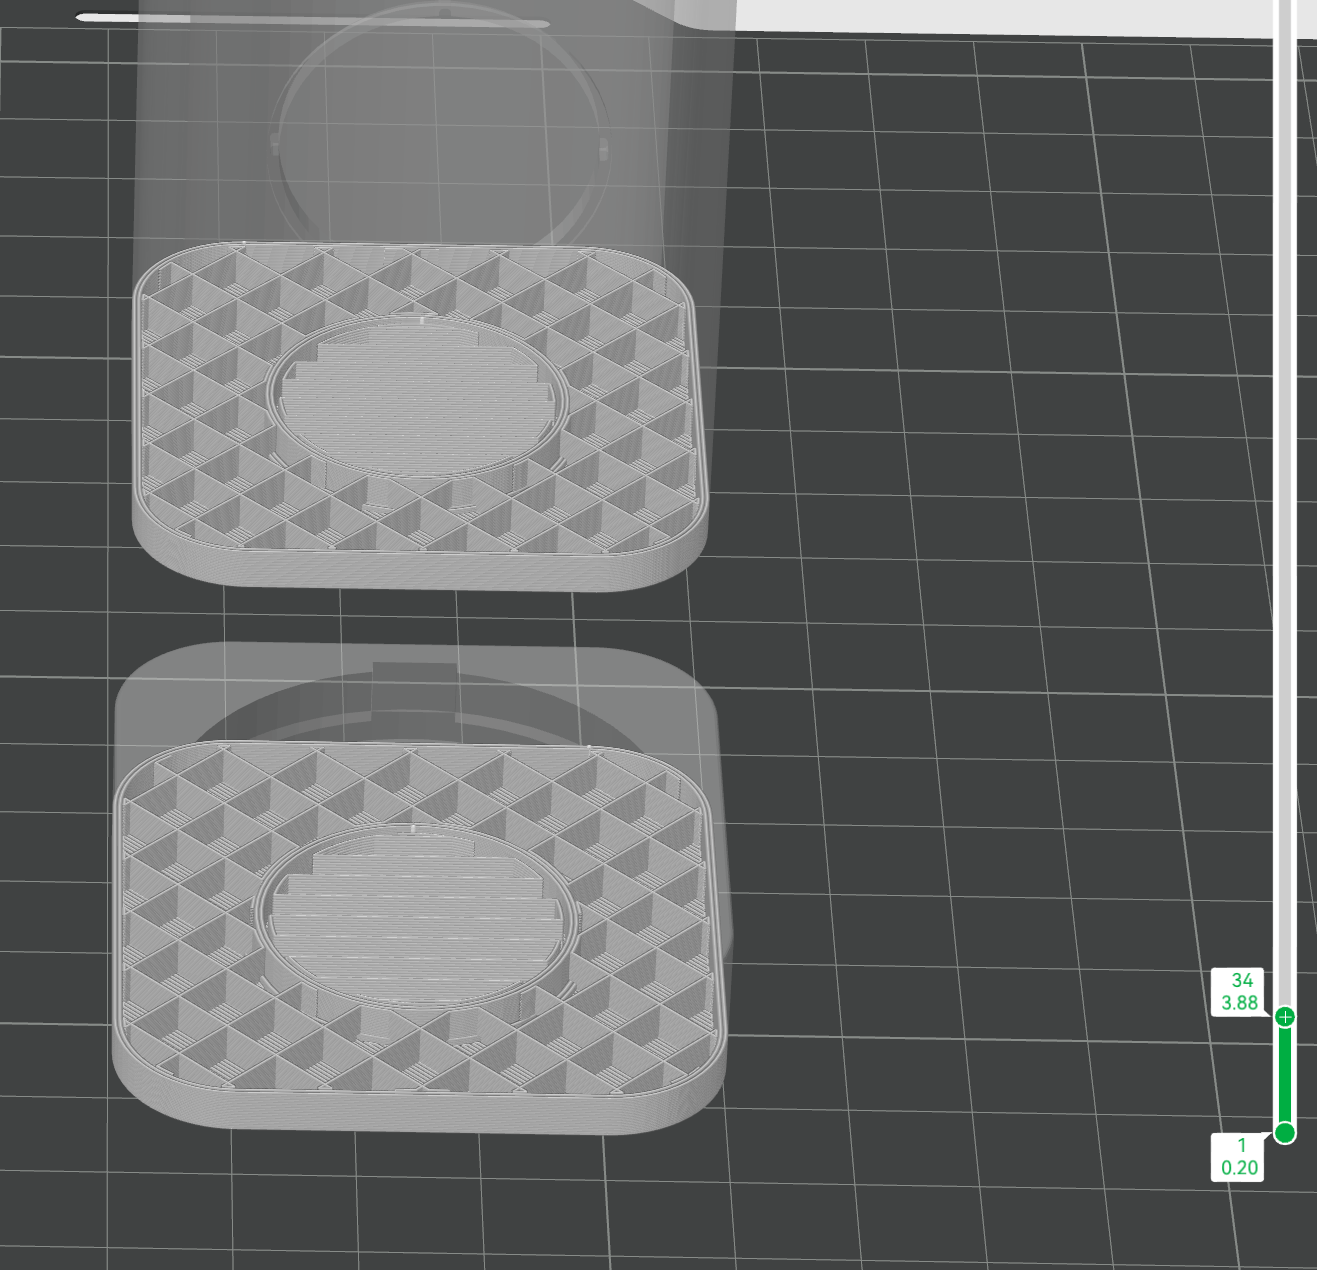
- Scroll to the layer where the magnet wells are first covered.
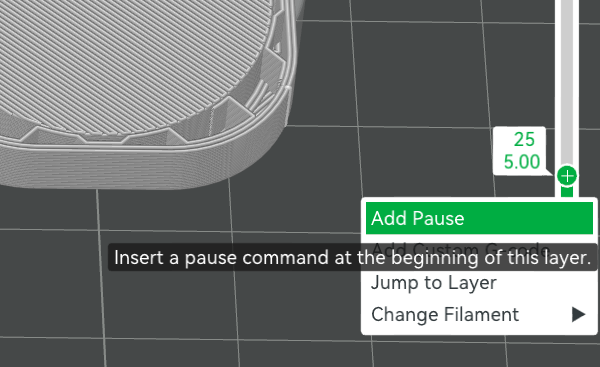
- Add a pause at that layer. The printer pauses before the layer is printed.
- Note the print time — so you know when to insert the magnets
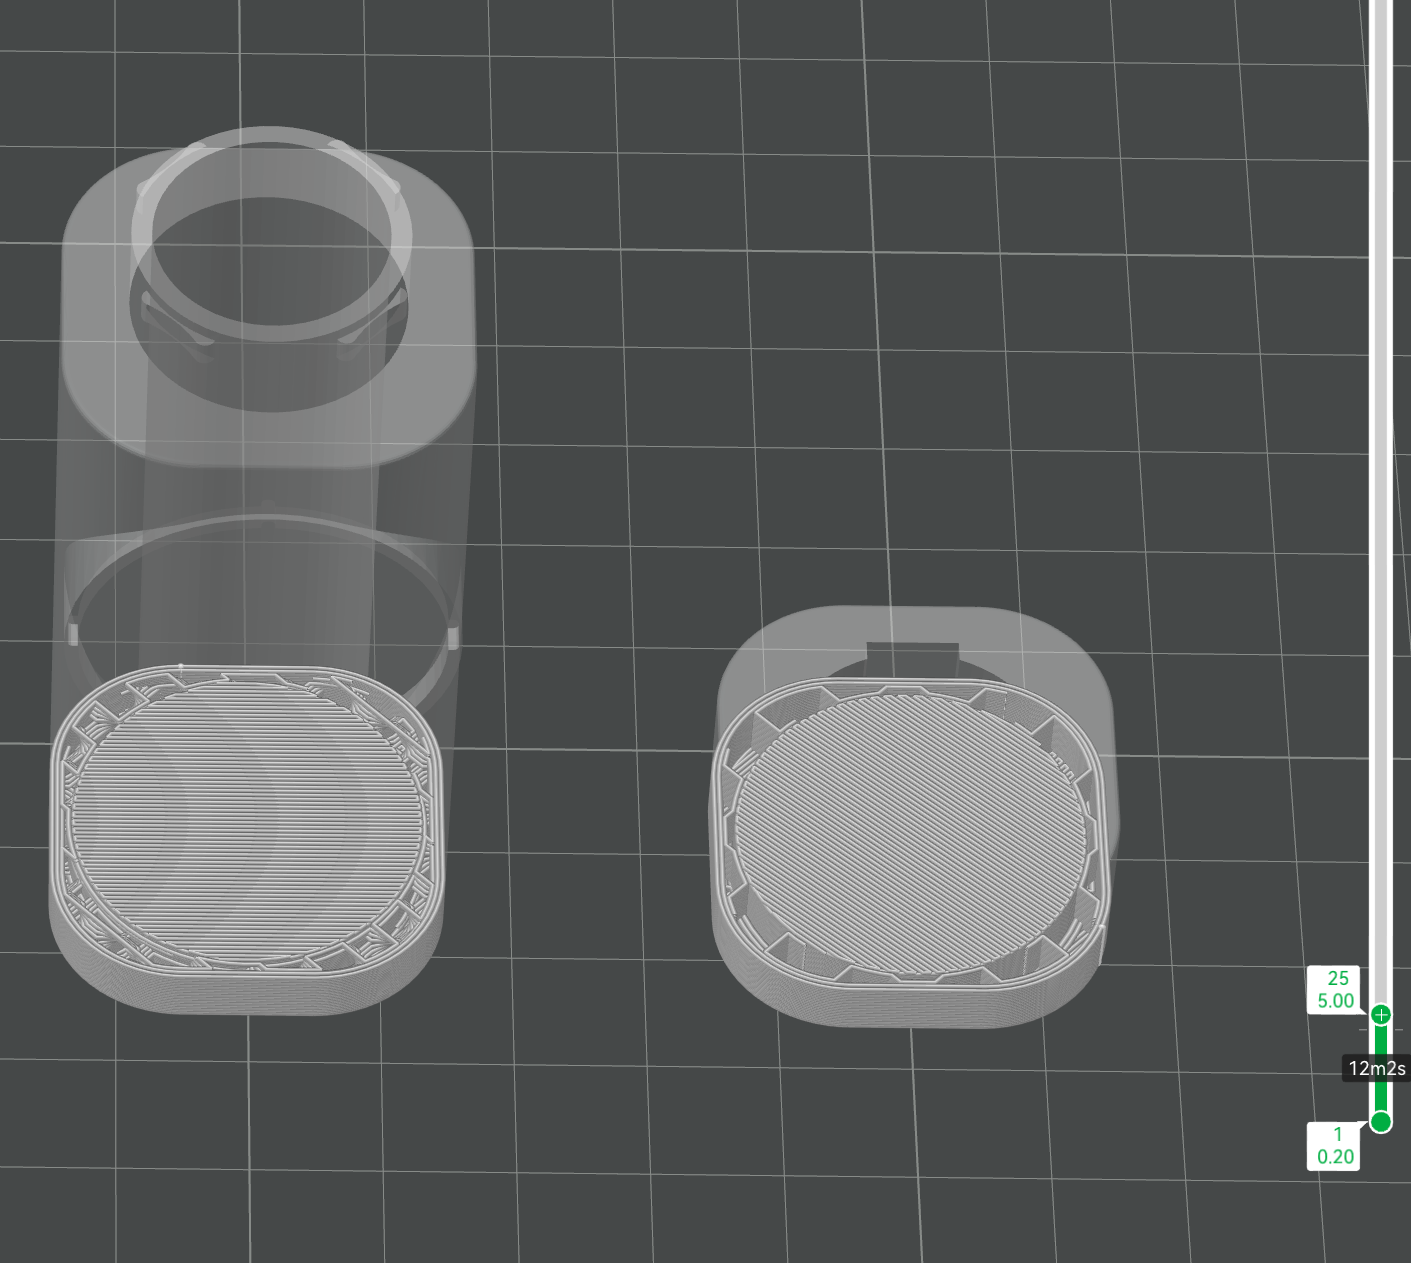
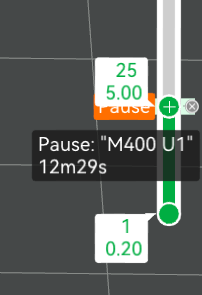
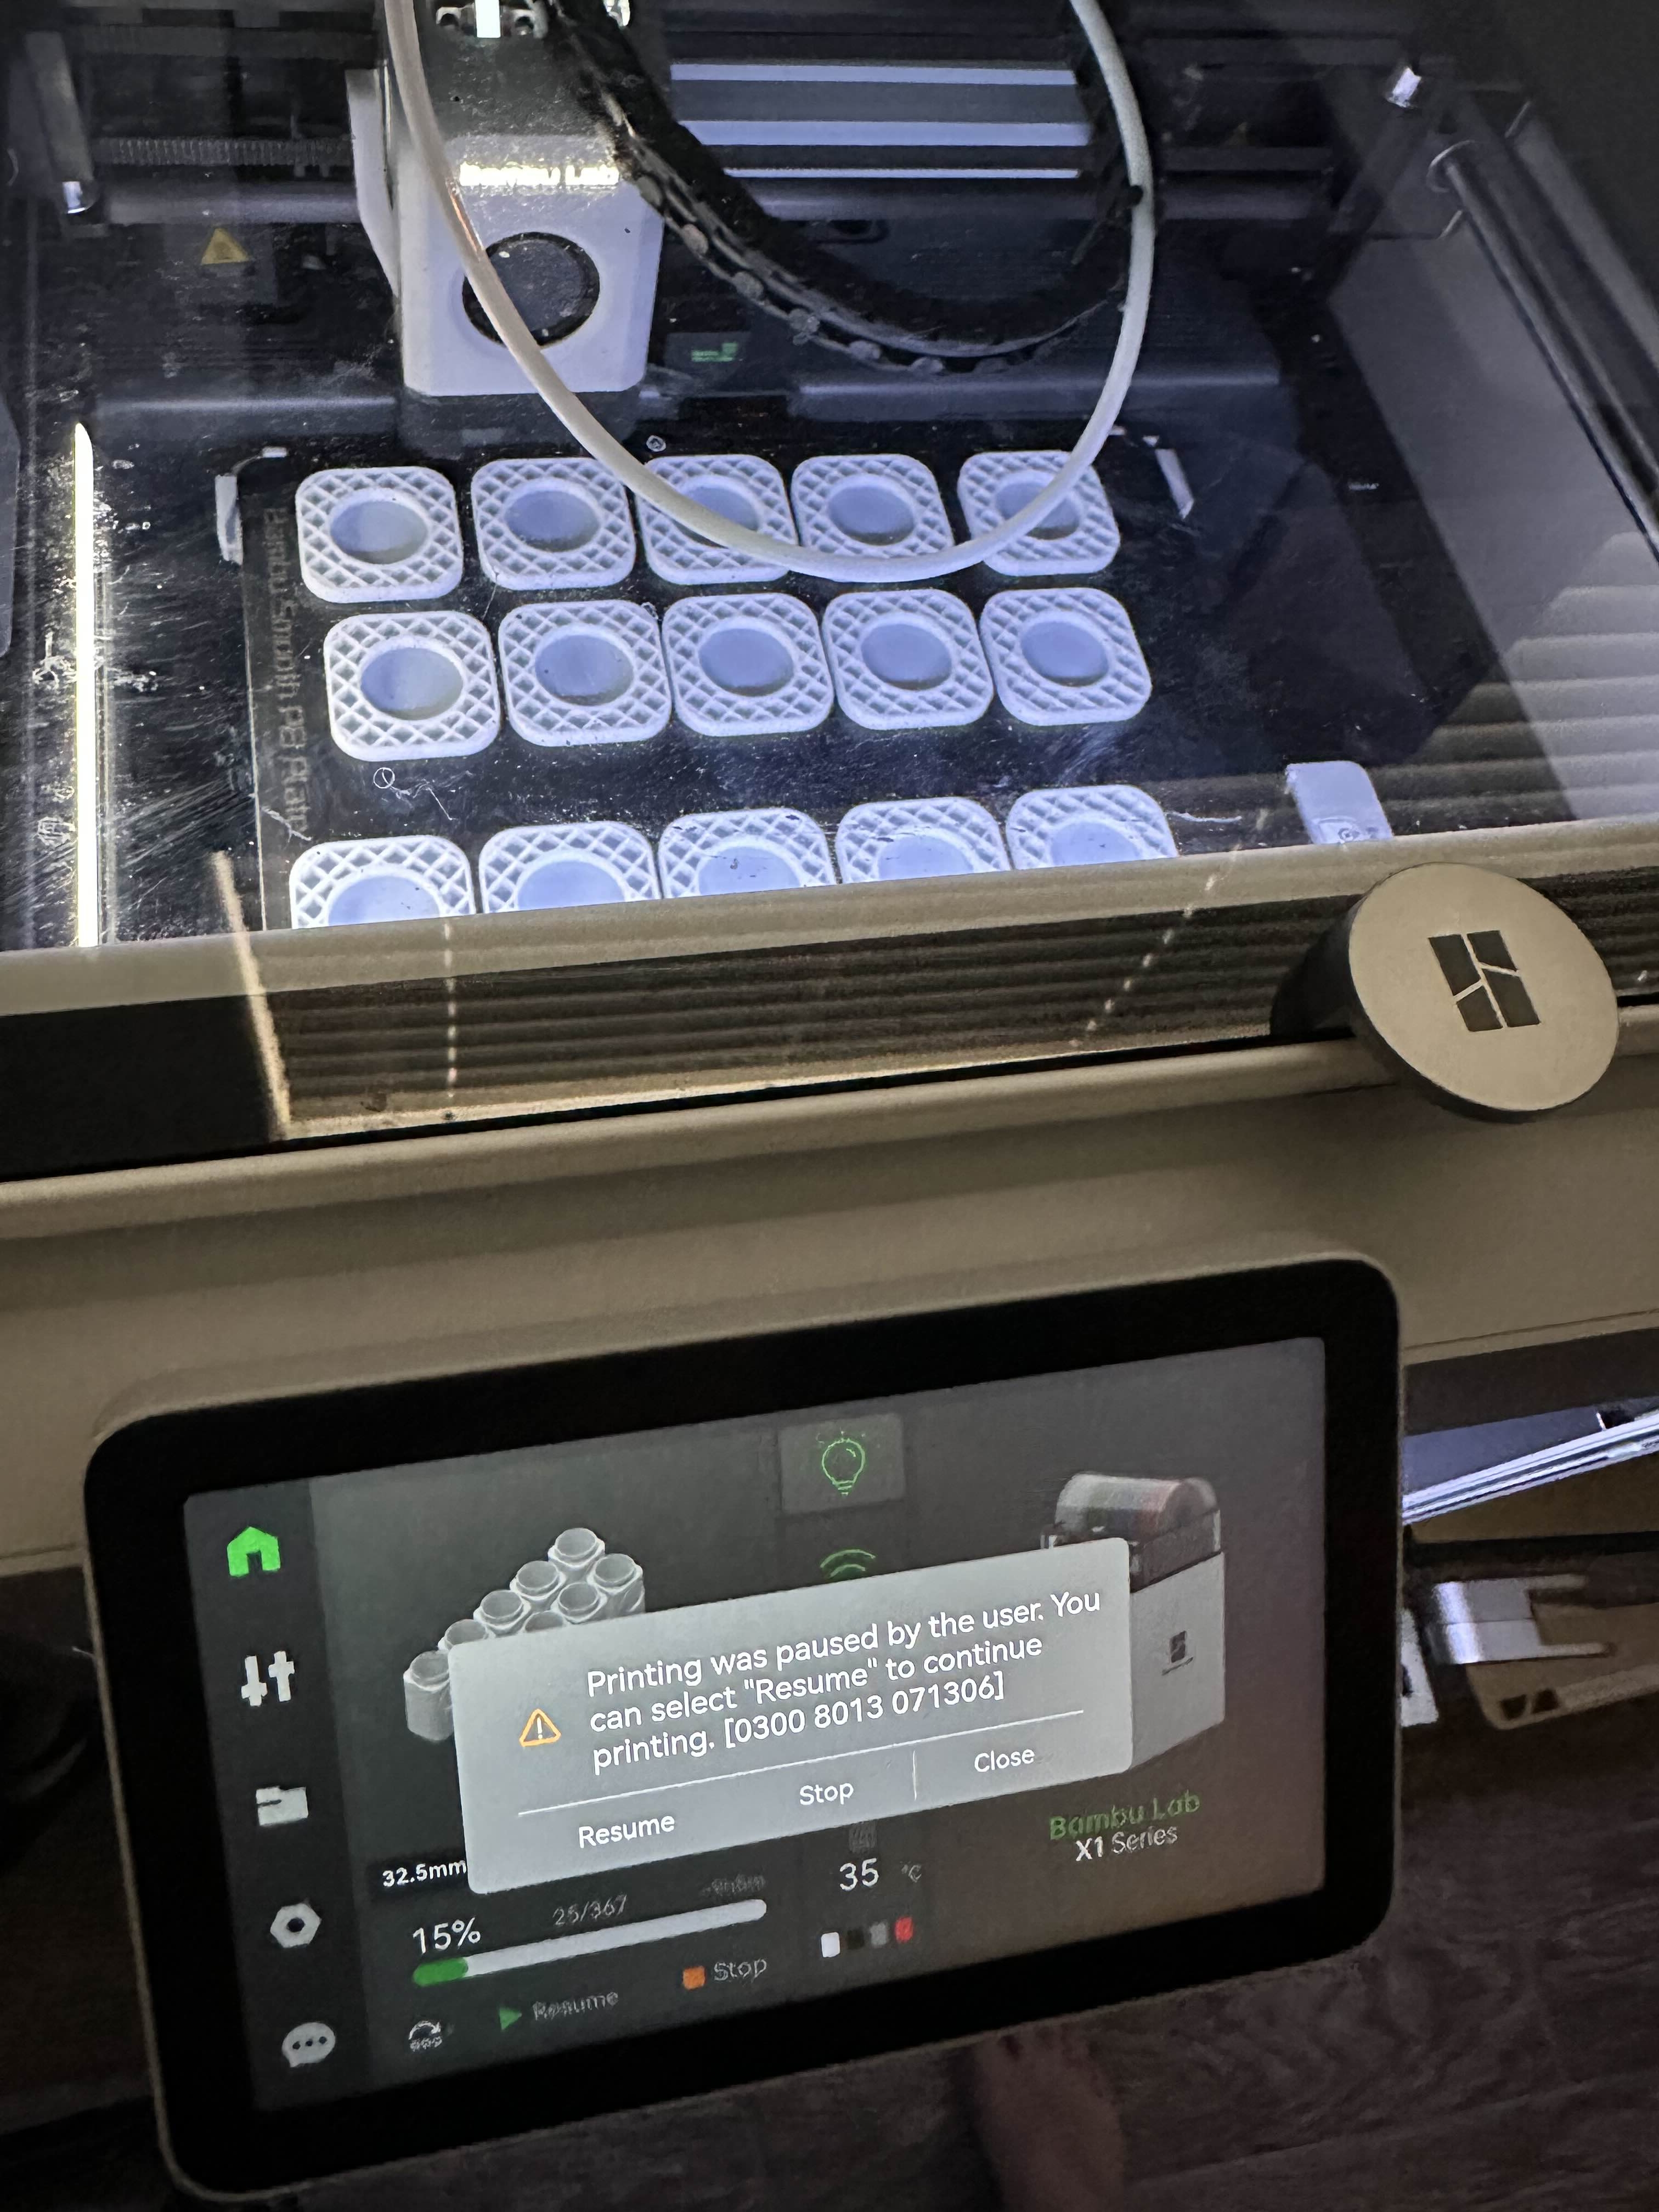
At the scheduled pause (e.g., 12m 29s):
- Carefully insert magnets
- Ensure correct polarity
- Avoid bumping the build plate
- Resume promptly to prevent print quality issues.
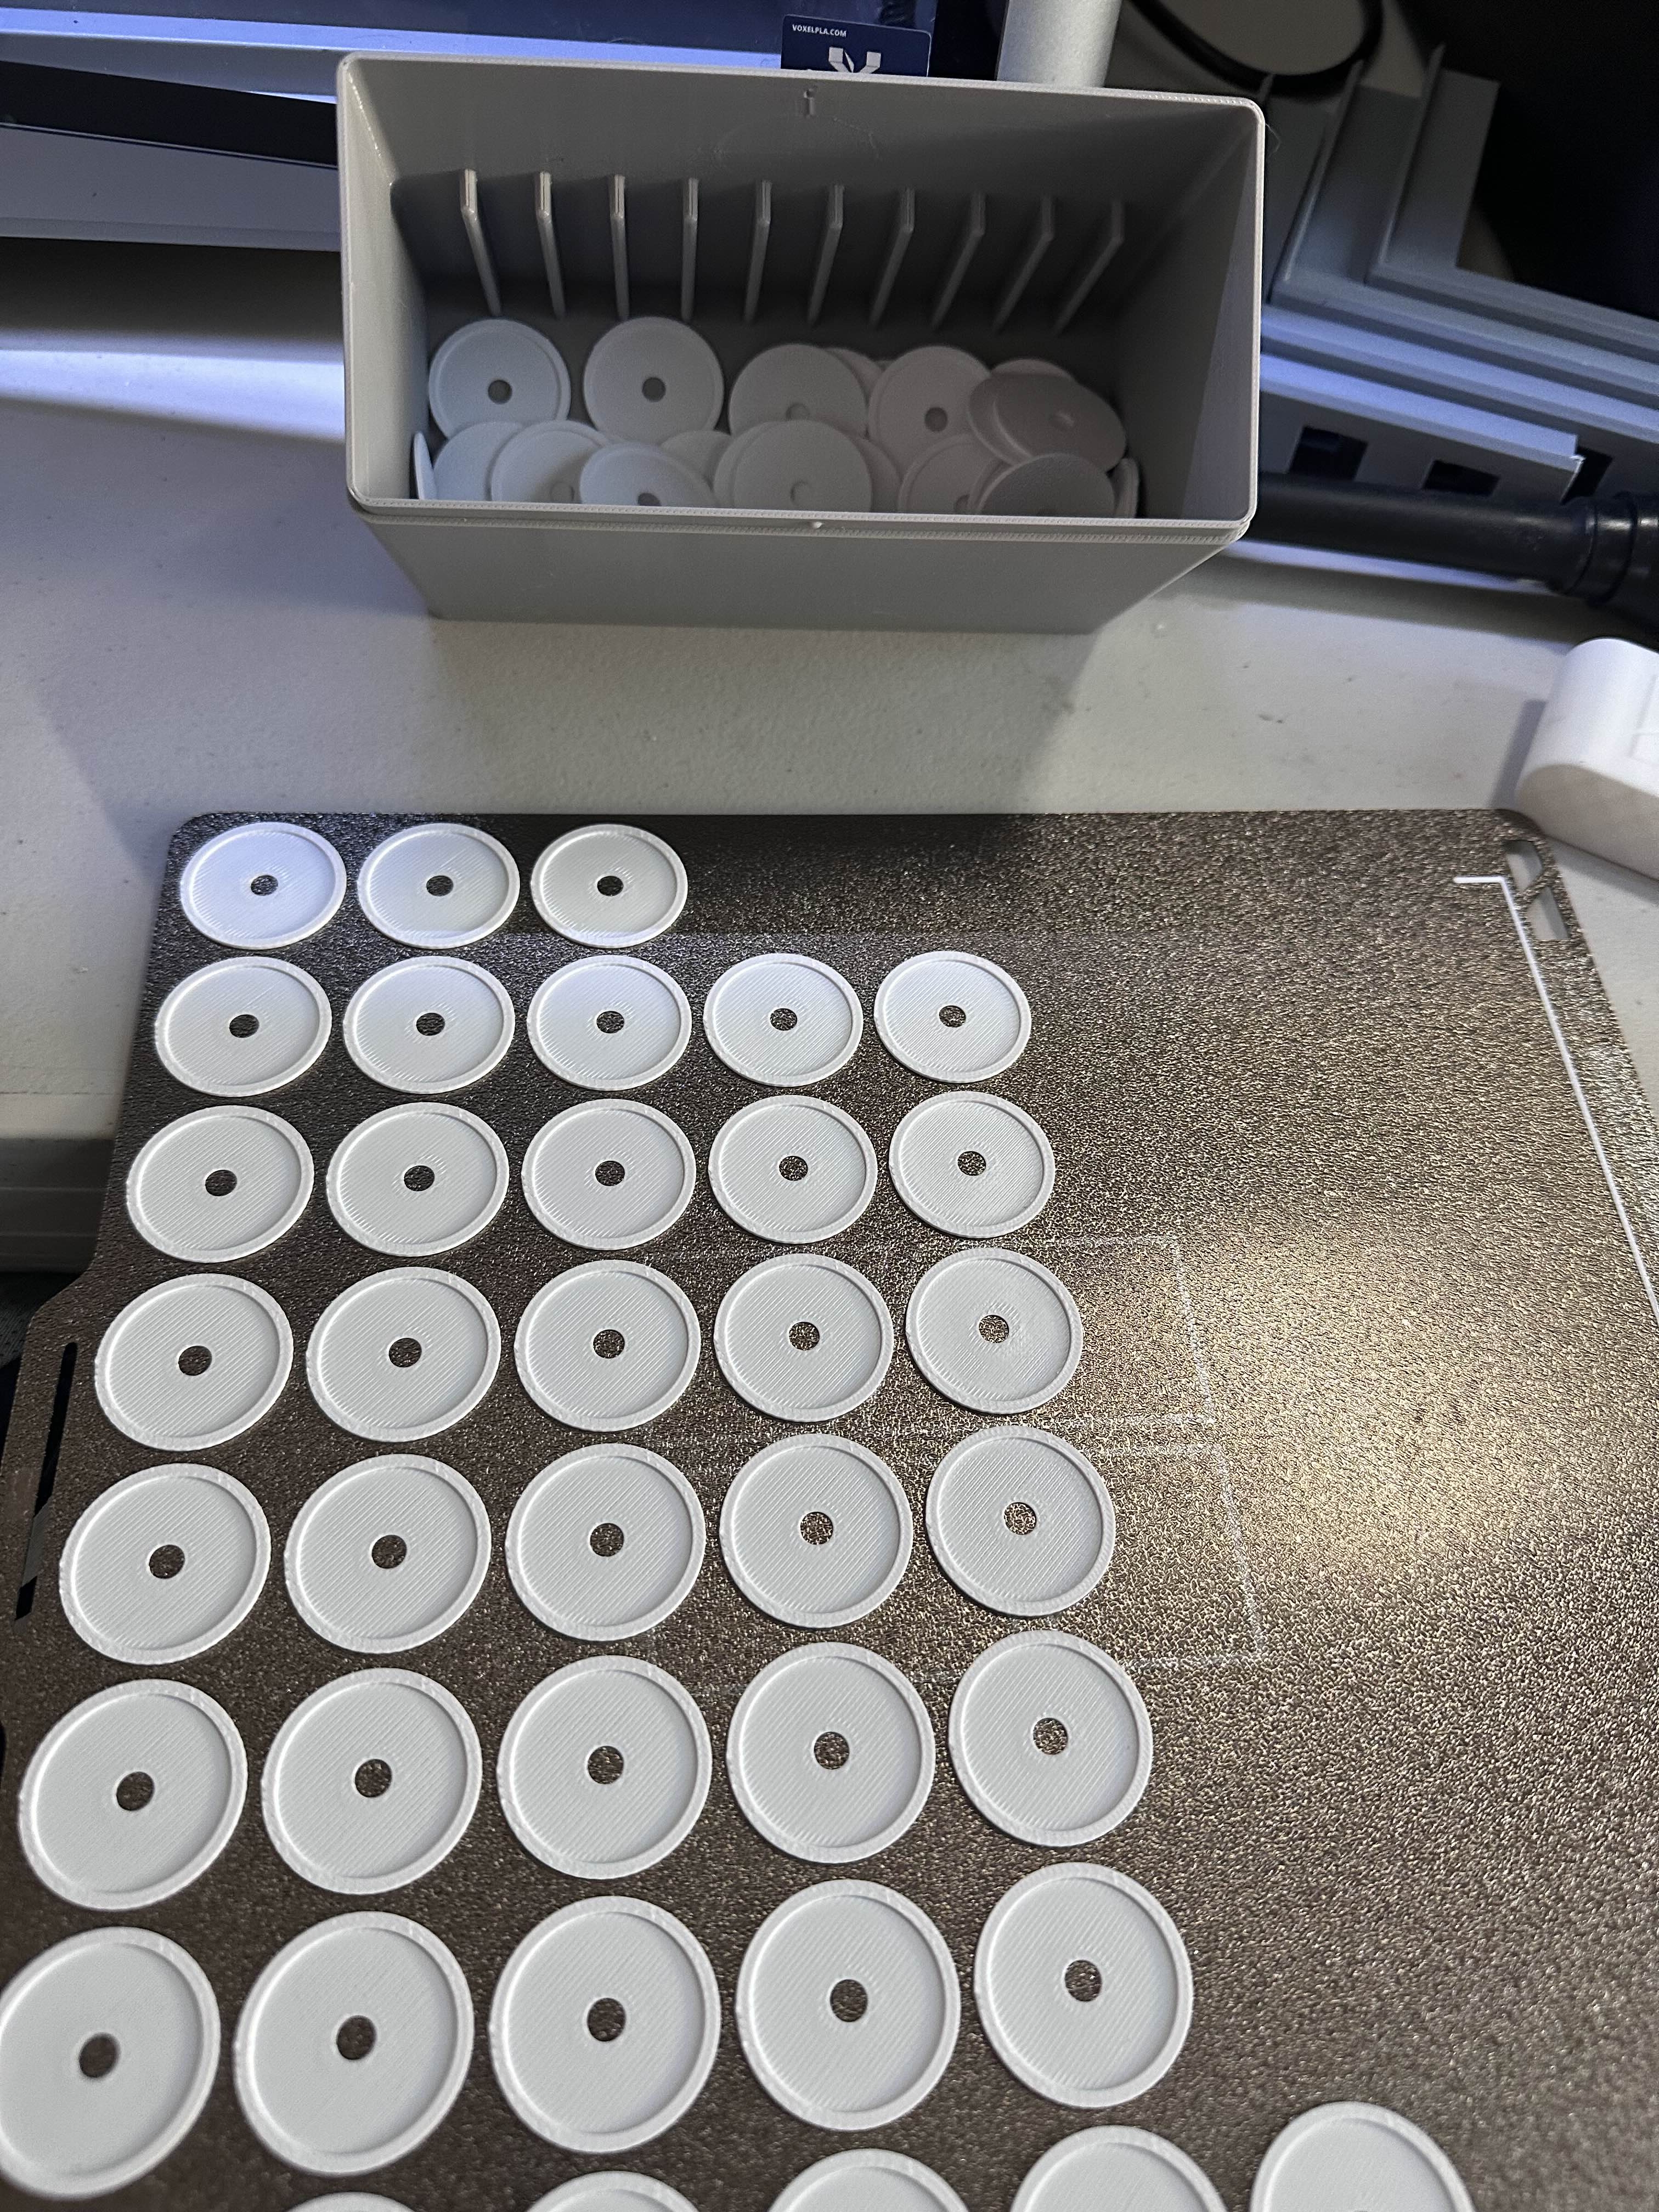
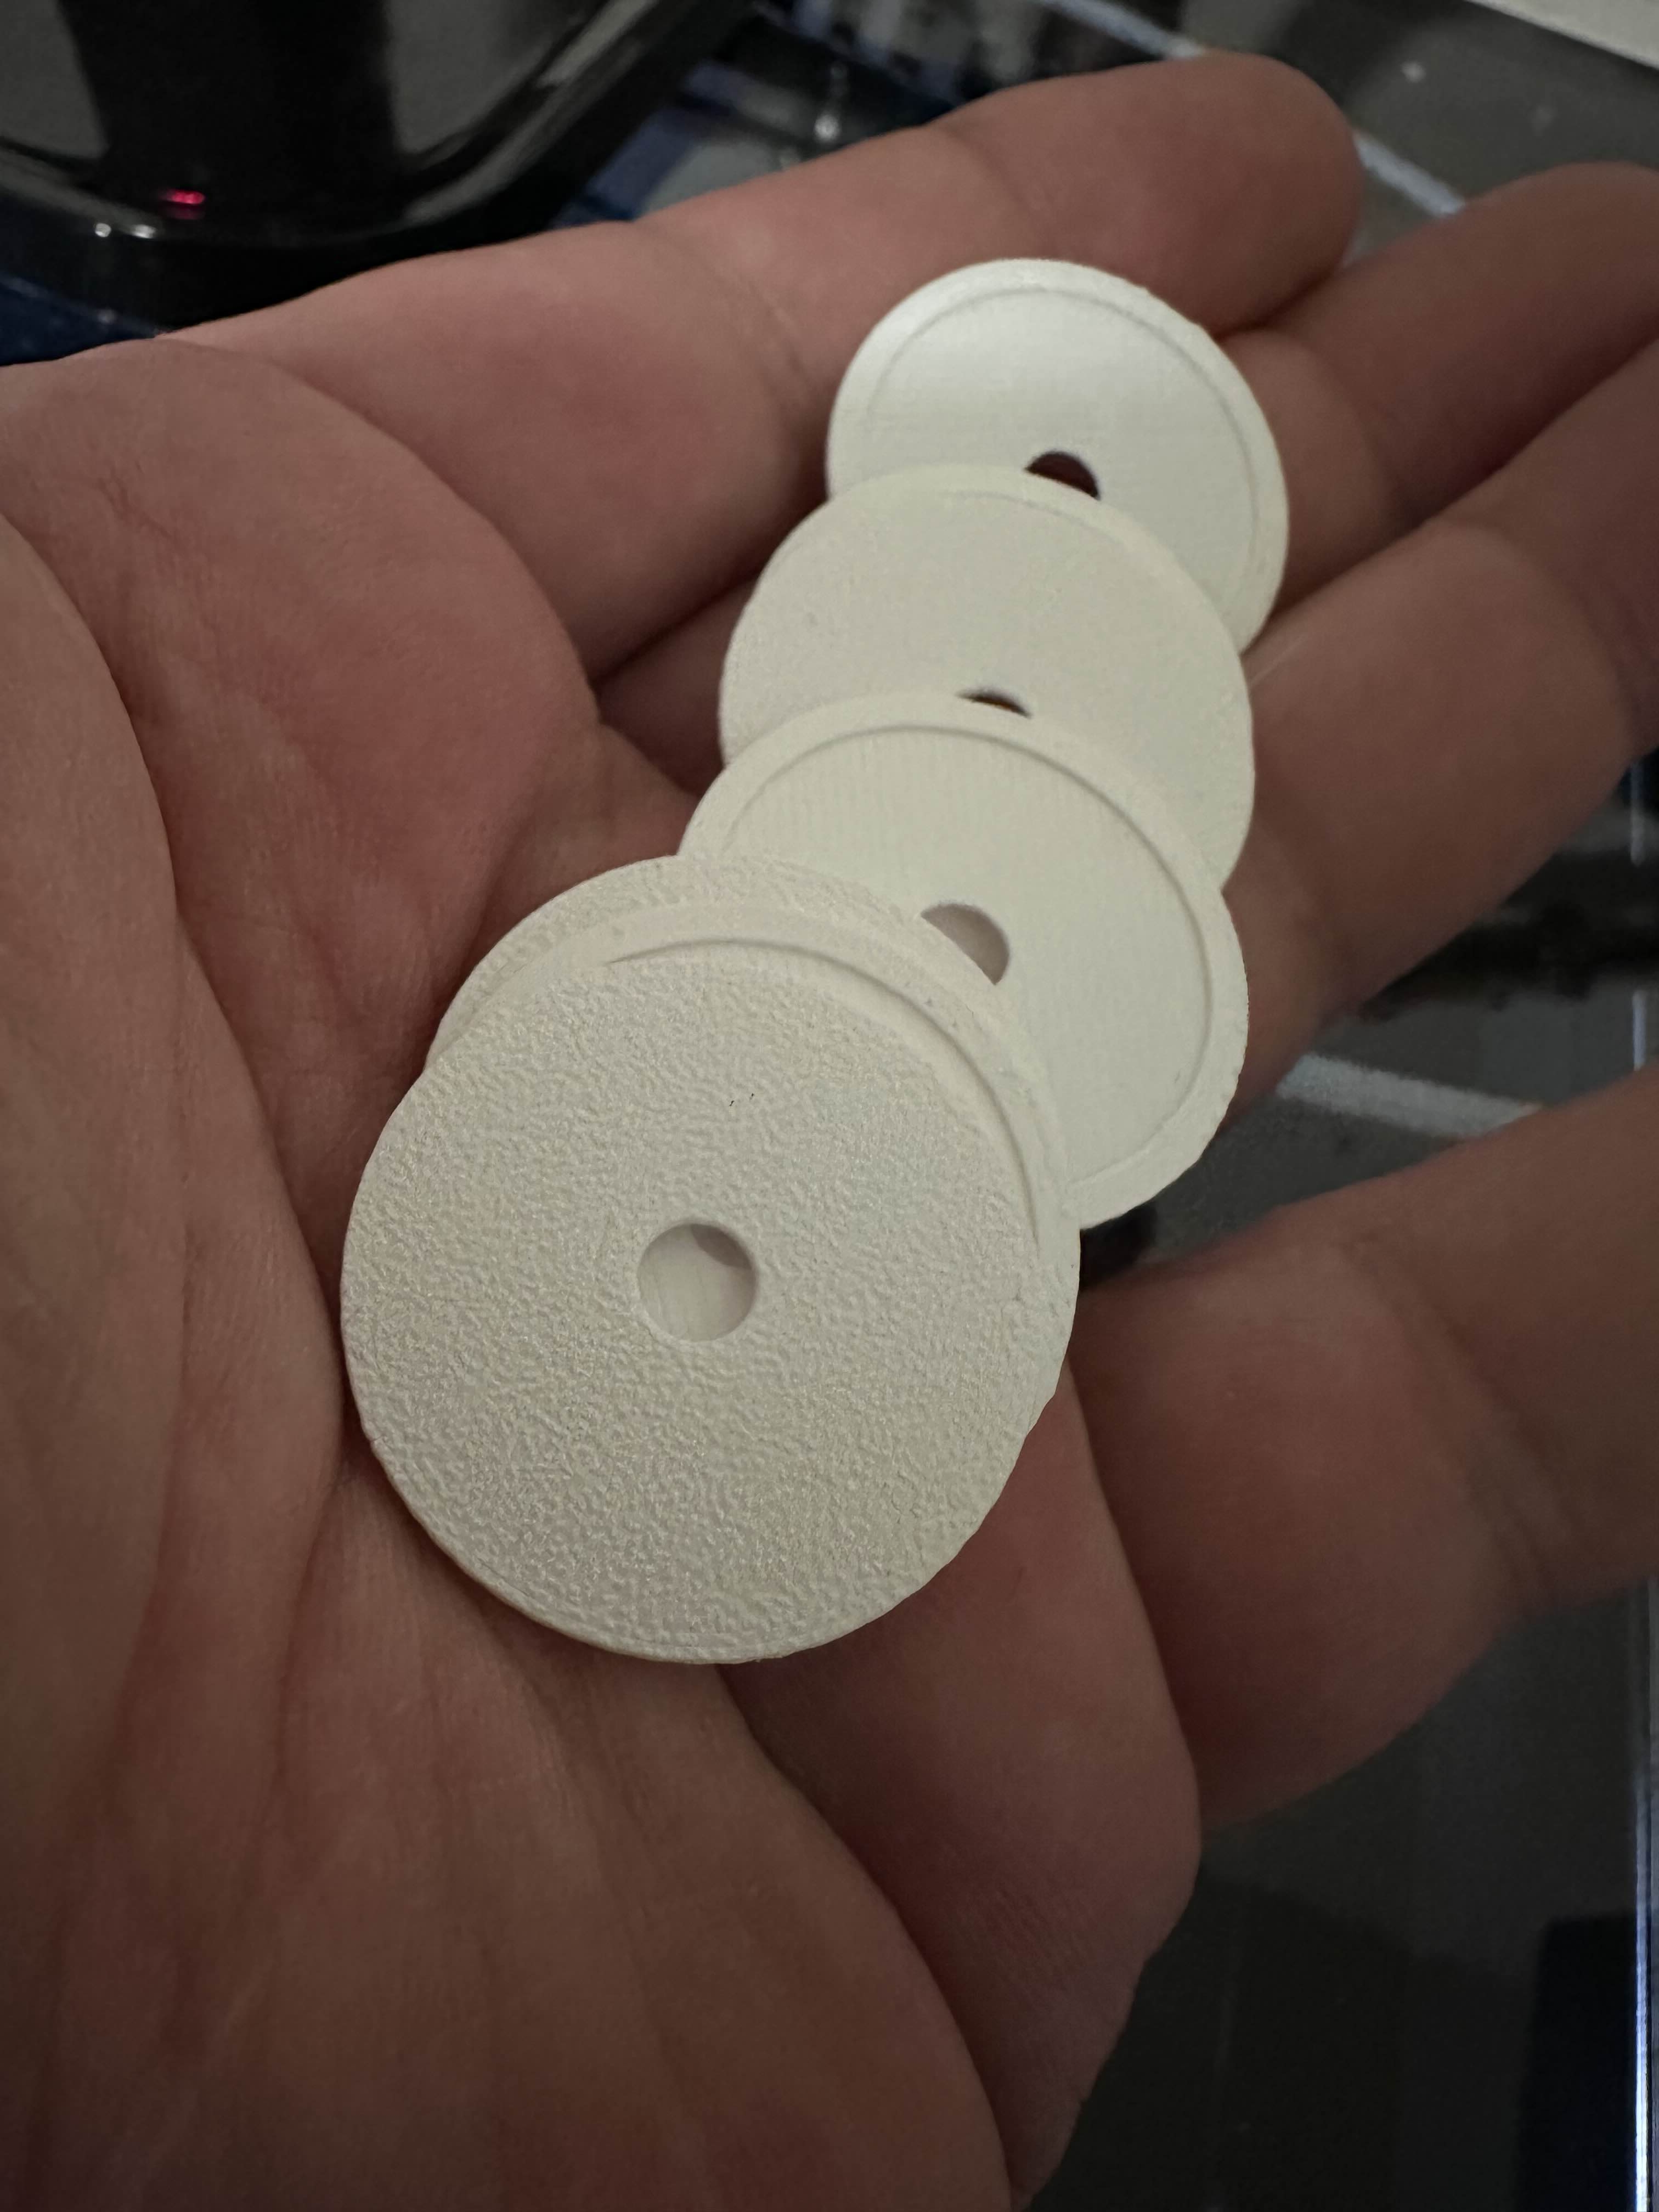
Once the magnets are seated, you need to add a tiny bit of glue to each magnet and then put on a “magnet cap” PATG-HF filament doesnt stick to the magnets very well and can mess up the print. These magnet caps add a protective layer and allow the next layer to stick and maintain a smooth finish.
Resume the print once magnets are seated and the caps are in place.
💡 Tip: If done quickly and cleanly, you won’t see any seam lines at the pause layer.
After printing, twist the lids 360° a few times to loosen the fit. It’s designed to be snug!
Skipping the Magnets
No magnets? No problem.
- Enable supports for the magnet wells only
- Use support blocker cubes in the badge slots, not the magnet cavities
- Slice and preview carefully to ensure the slicer fills only the magnet wells
This approach fills the magnet wells with the same filament and avoids using magnets.
Note: Without magnets, stackers will not self-align when stacked.
Printing an army of stackers
Want to print a batch?
- Split caps and tubes onto separate build plates
- This saves time and helps with polarity tracking
- Organize rows consistently for large-volume production
- Consider labeling plates or groups to keep track of coin sizes during mass printing
If you have trouble you can reach out to the COINFINITY Discord server for assistance.