Coinfinity Bin Printing Instructions
All Coinfinity Bins follow the same printing instructions. The only difference is the internal dimensions of each bin. The outer dimensions of each bin are the same, and the all contain 4mm magnet wells and an NFC badge slot. The lid of the bins are the same, with a snap-fit lid and embedded magnets.
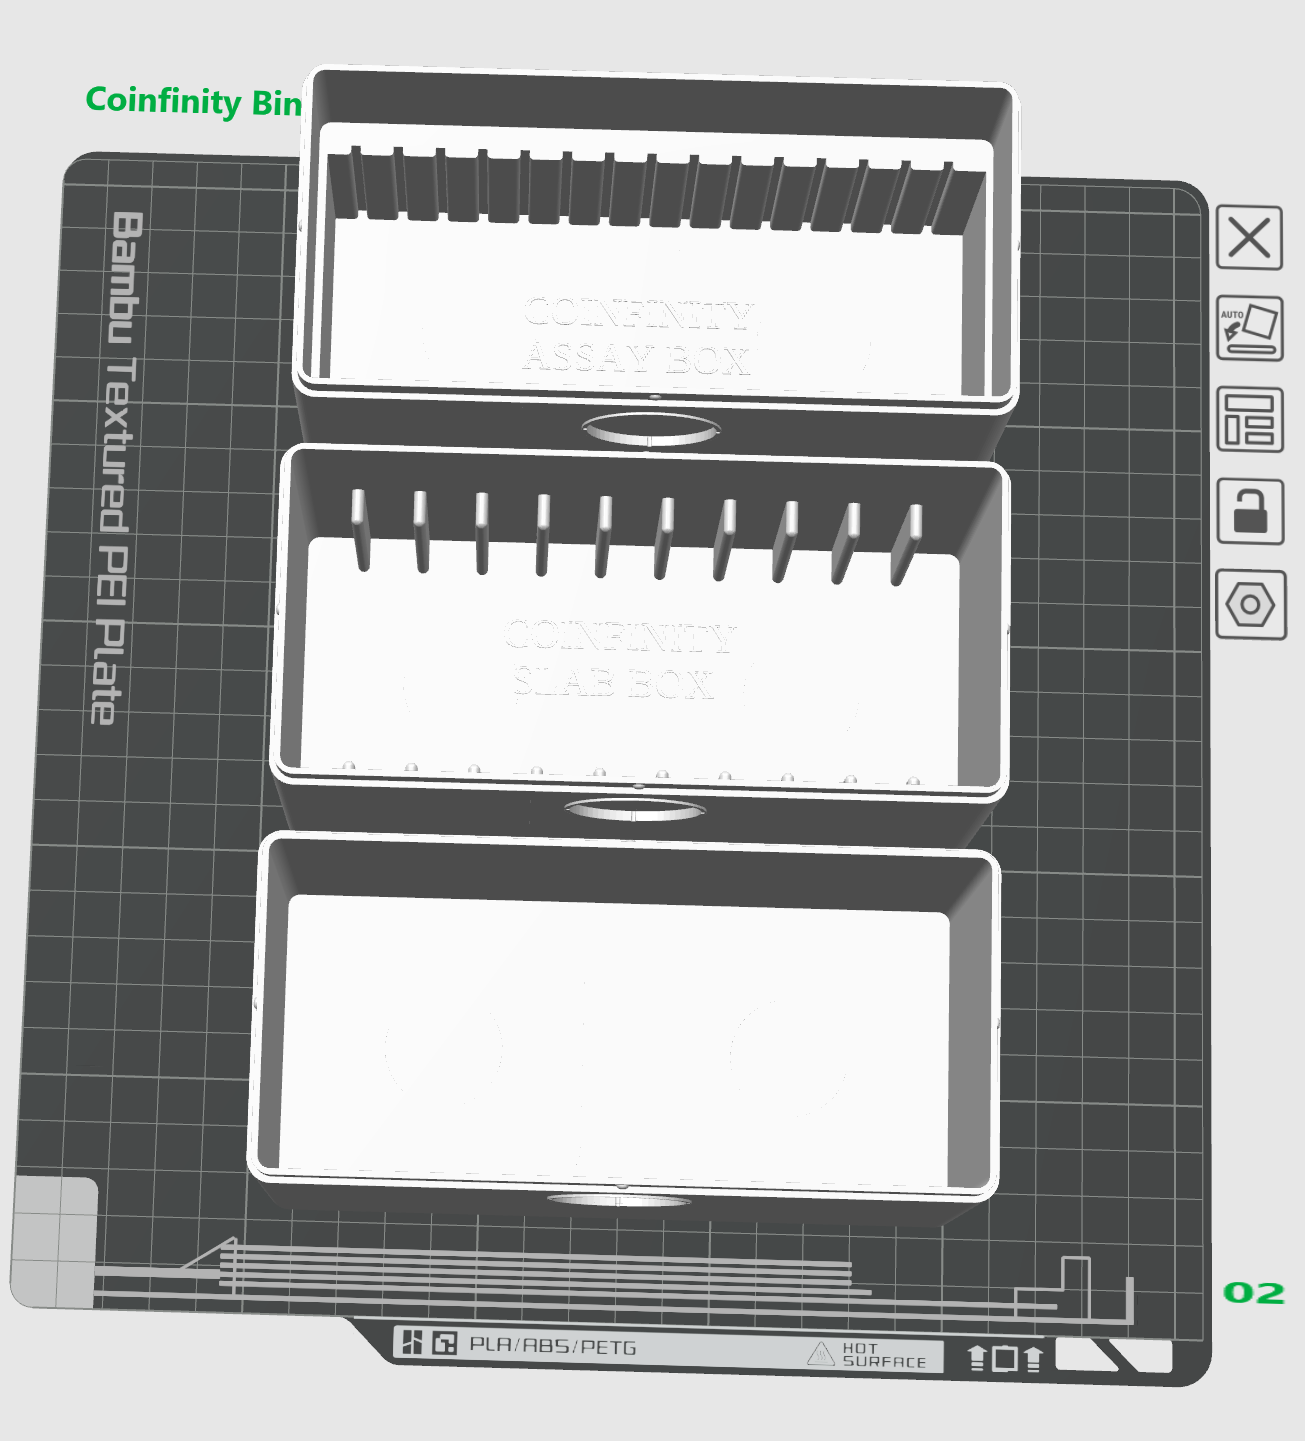
Open Bambu Studio and import the bin files for each bin type that you want to print. For illustration purposes here, we show all 3 bins on the same build plate.
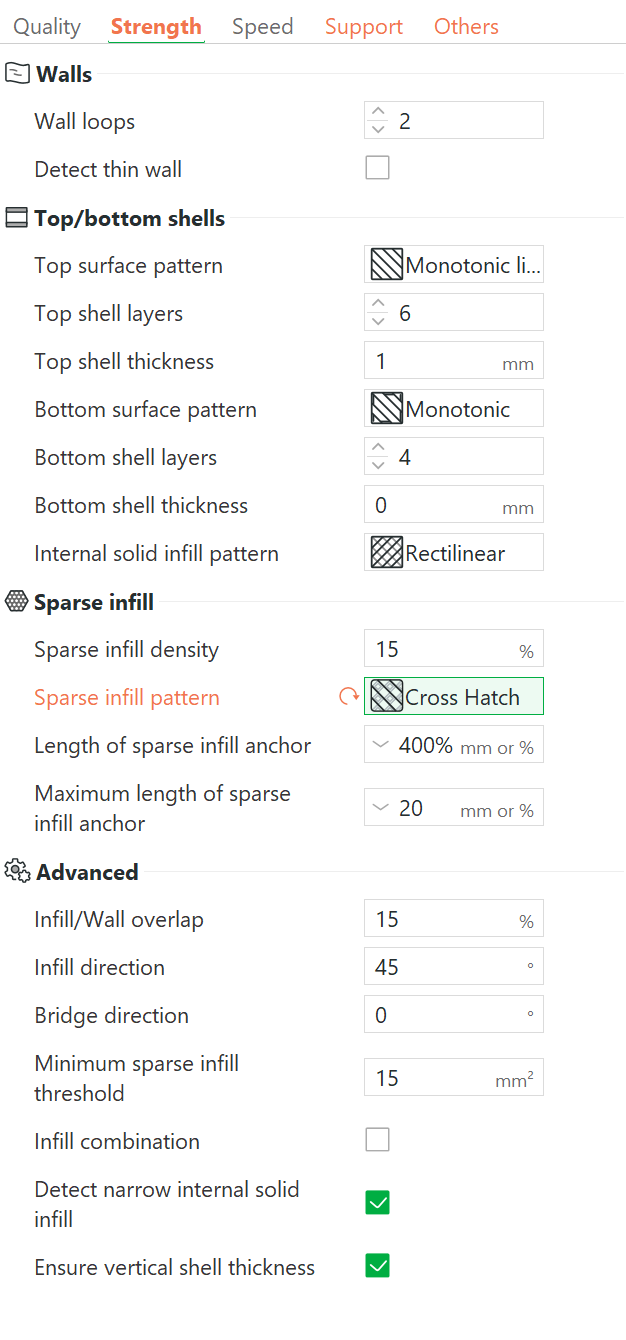
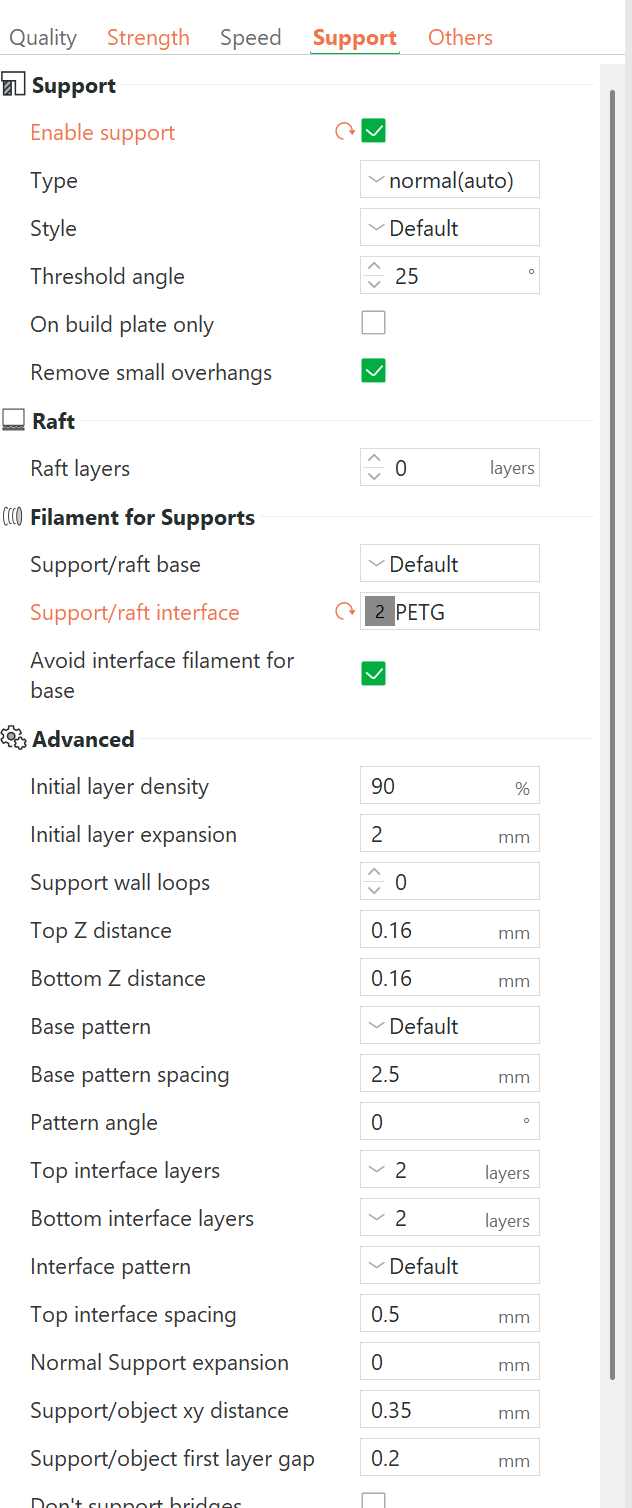
The base of the bins needs support around the outer edges. It’s best to enable support and use a PETG filament for the Support Interface layer. If you are using PLA for the primary filament, use PETG for the support interface layer and vice versa.
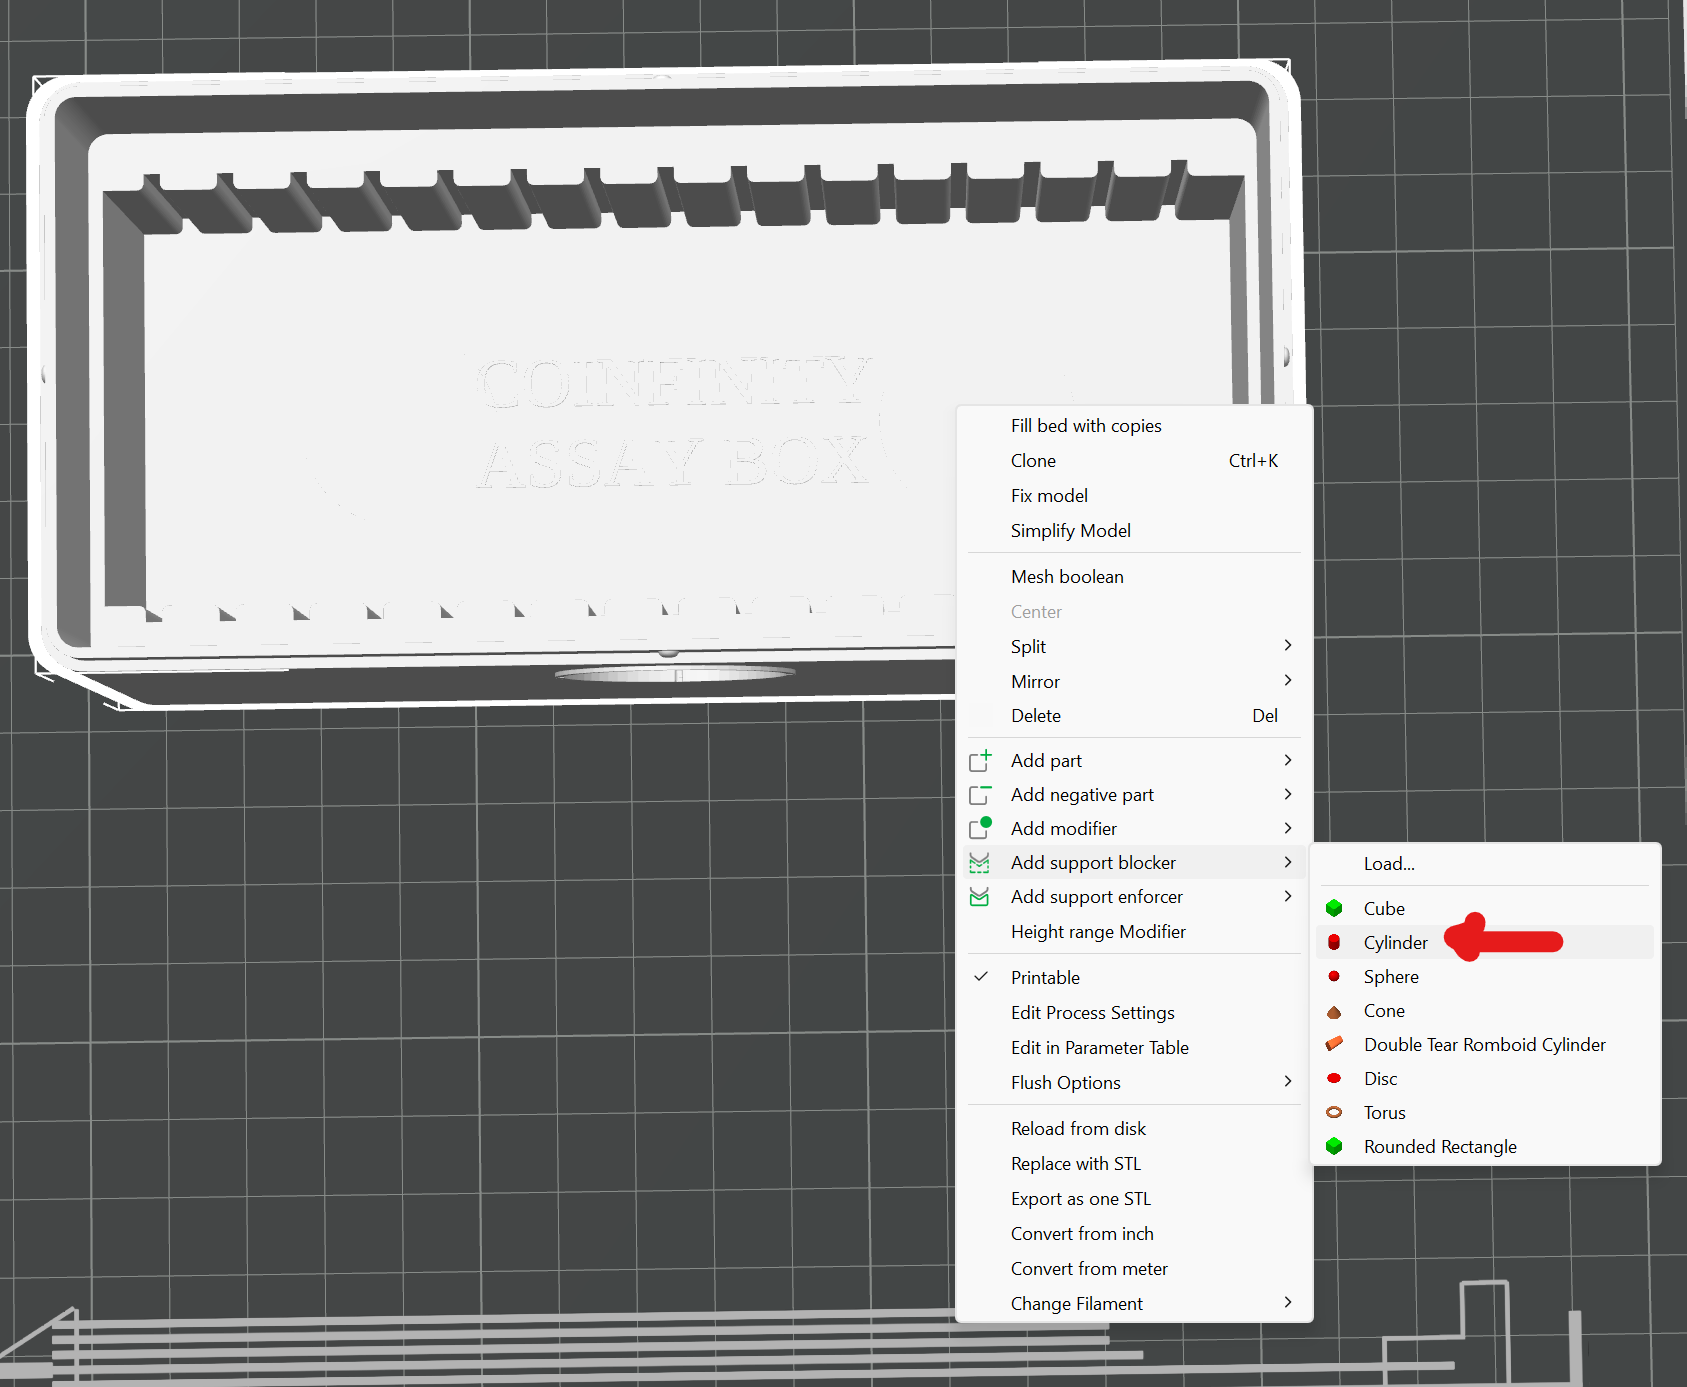
However, once you enable support, you will need to add support blockers to block the magnet holder and badge circle areas. Use 2 cylinder and 1 cube support blockers to block the magnet holder and badge circle areas. They don’t need support. To add these, right click on the part and select “Support Blockers”.
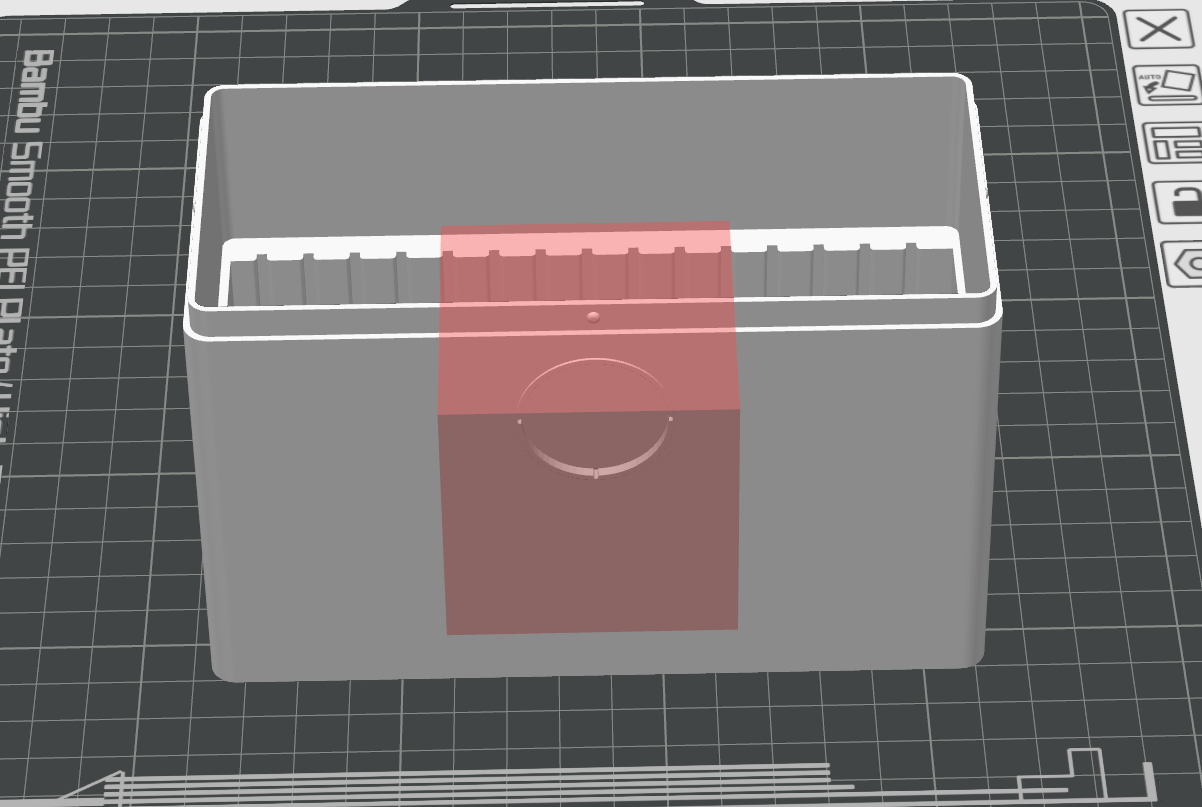
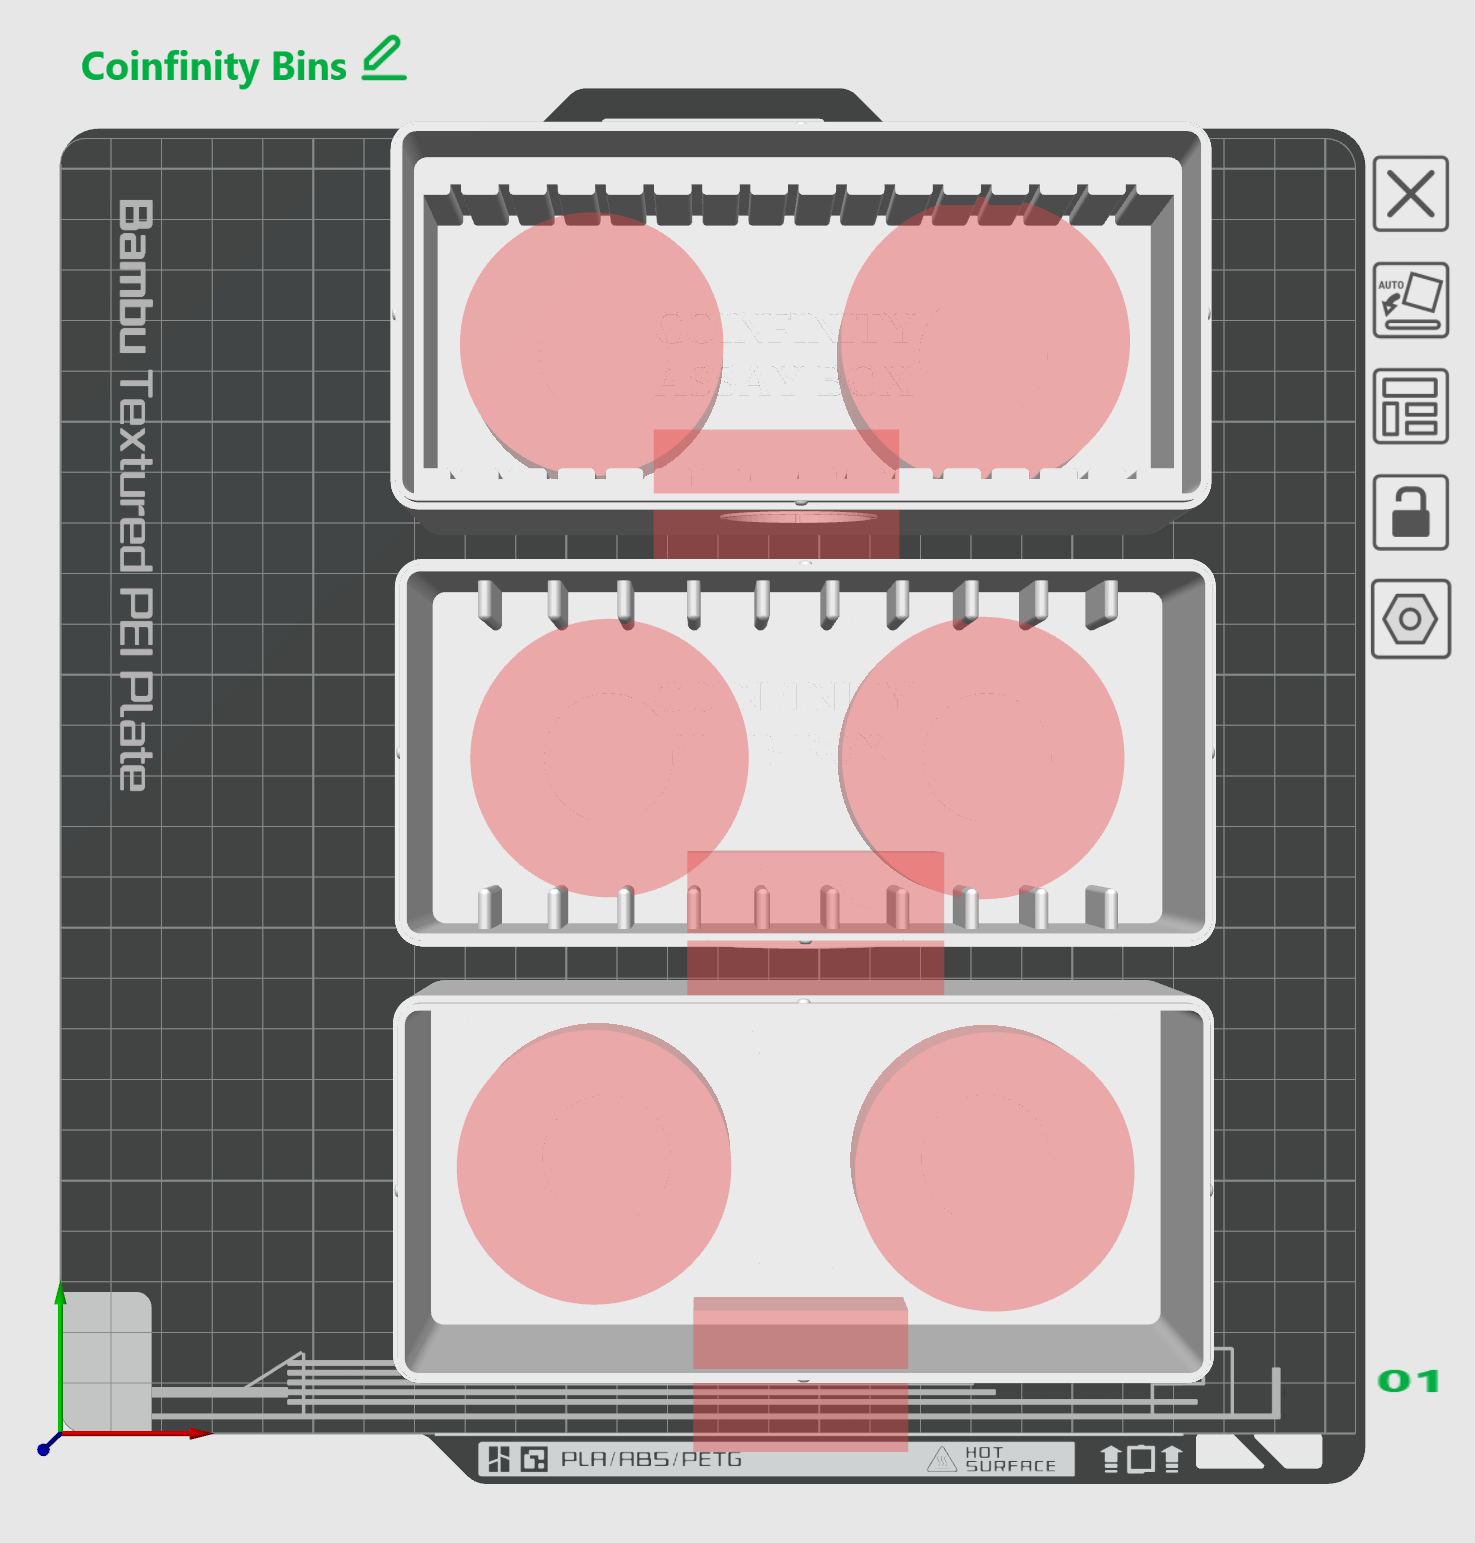
Once added, reposition each blocker to block the magnet holder and badge circle areas. You will need to scale them up to block the magnet holder and badge circle areas.
The cube just needs to cover the badge slot. NOT all the way to the 0 layer or it will block support on the base layers.
After slicing, we will add a pause at the start of layer 33 to allow the magnets to be inserted.
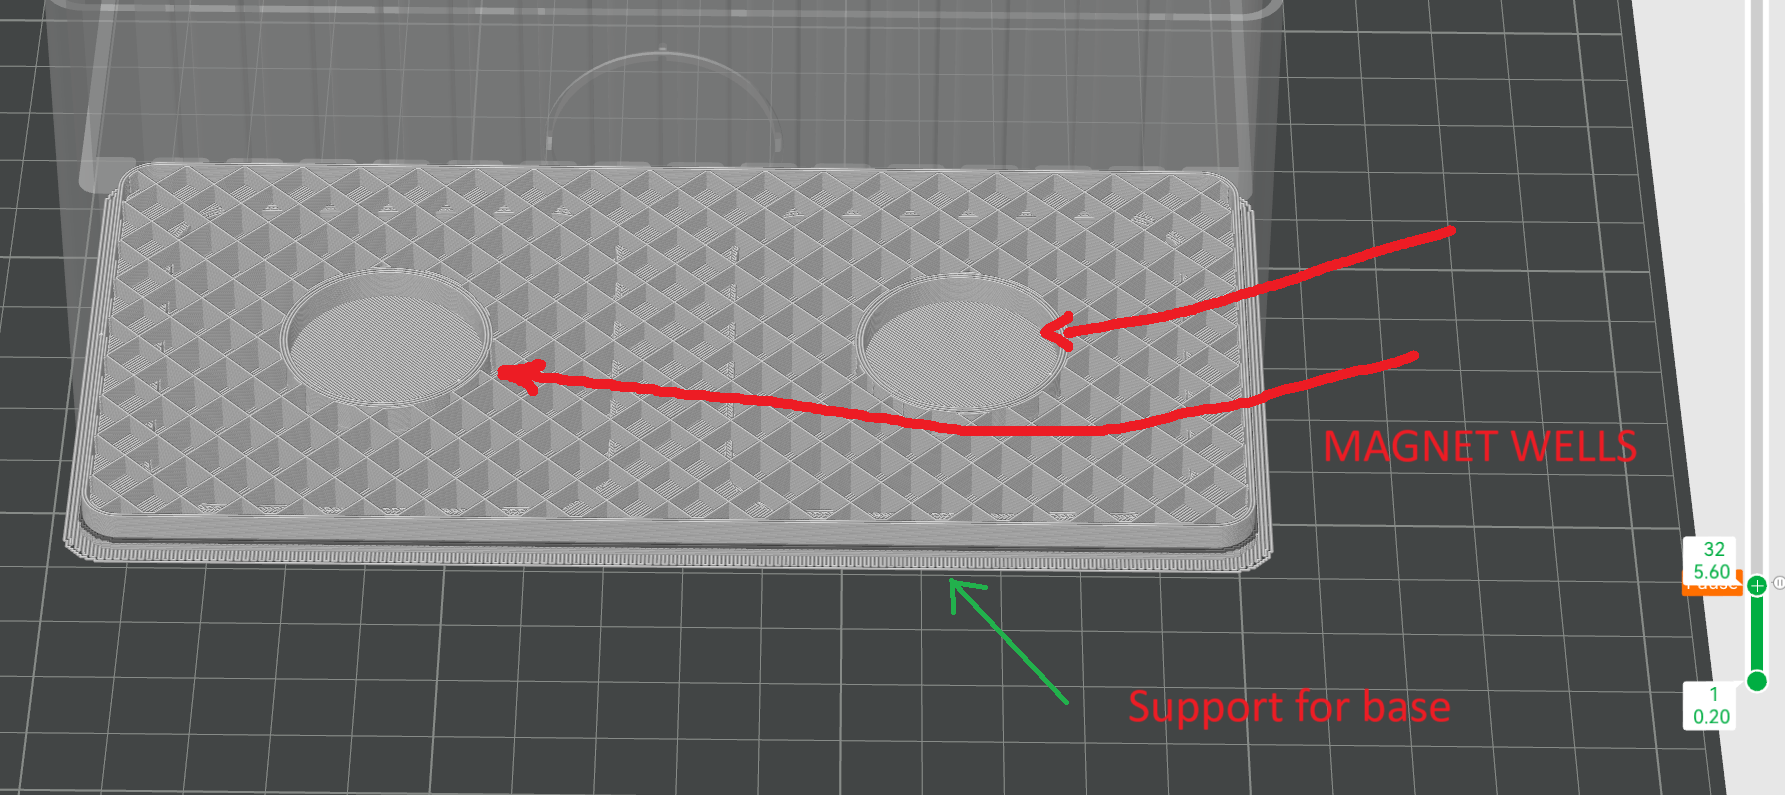
Here on Layer 32, you can see the magnet holes don’t have support in them, thanks to the support blocker cylinders, yet the base is supported.
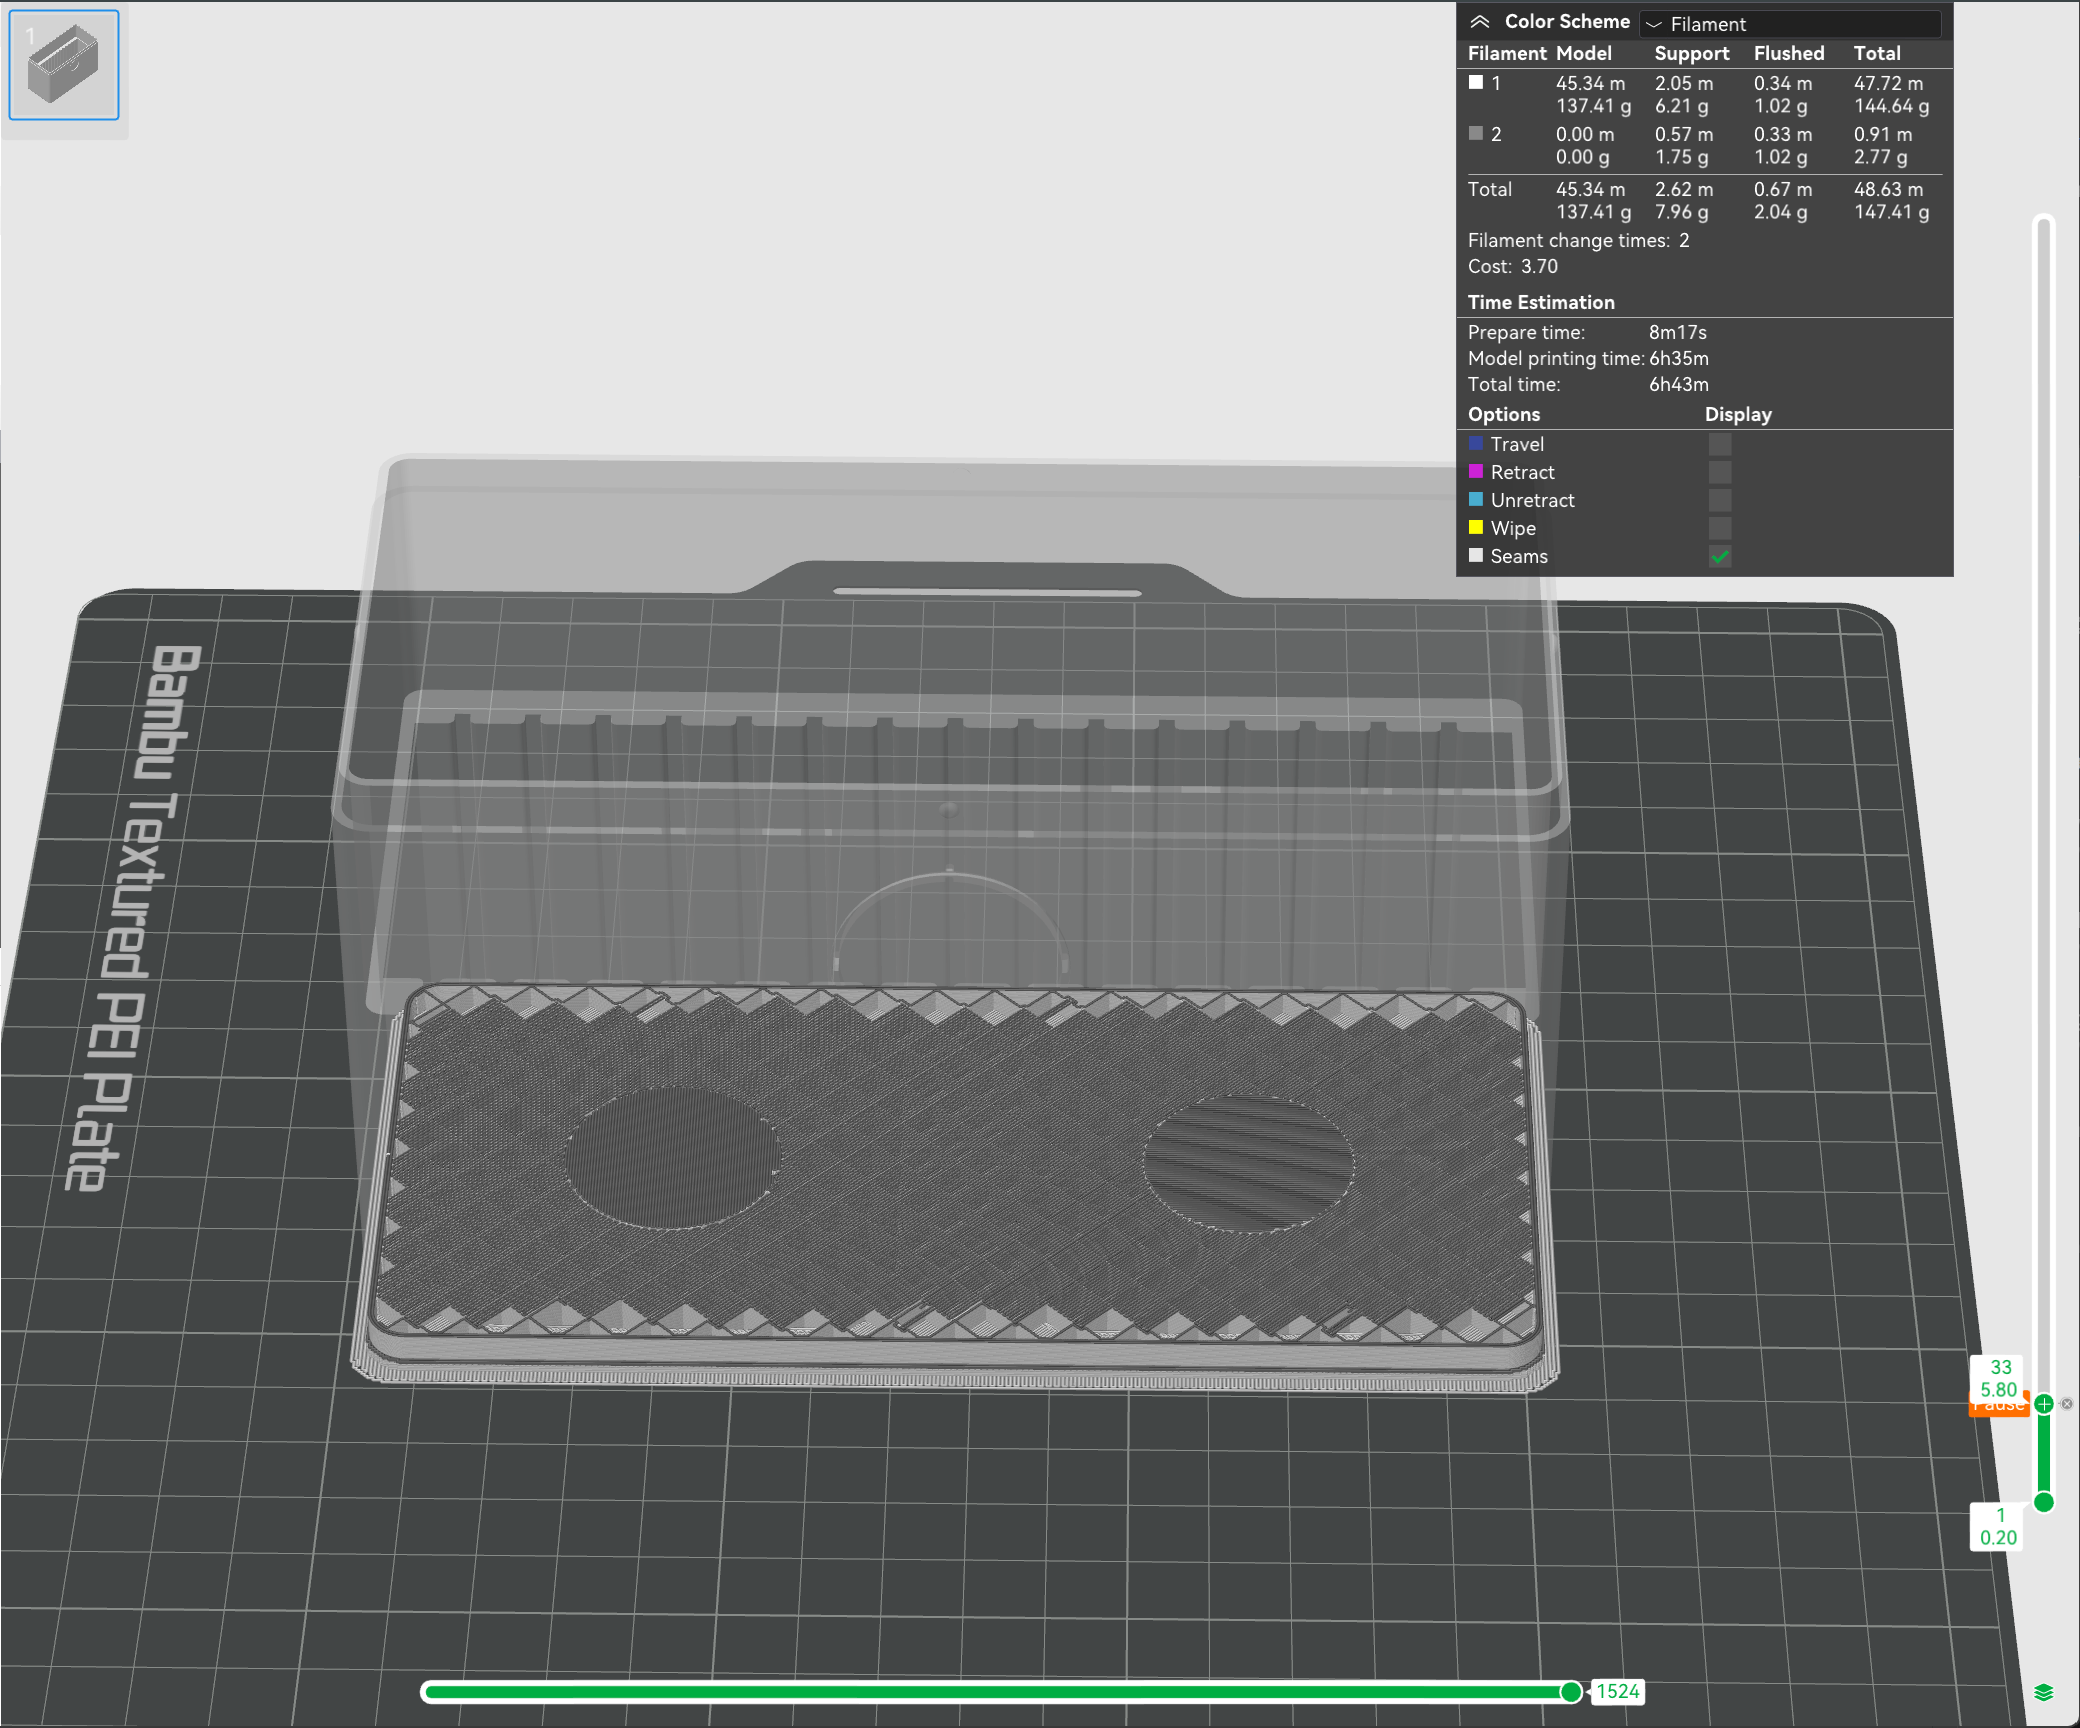
After Slicing the Plate, scroll your slicer preview window down to Layer 33 and right click to a pause. This will allow you to insert the magnets into the bin right before the printer covers the holes. You can also take note of the time in which it will pause based on the time you start the print. When the pause comes, you will want to insert the magnets quickly and resume the print. If left too long the part will cool a bit and create a noticable line when resuming the print.
The lids of the bins do NOT need support. It’s best to disable support on the lids. If you print the Lids and Bins on the same build plate, you will need to take note at which layer the magnets will be inserted. You may need to create multiple pauses to allow for the magnets to be inserted into the lids and bases at slightly different layers.
Printing Settings
-
Supports: Required on Base connector, but 2 cylinder and one cube support blocker should block magnet holder and badge circle, they don’t need support. Use PLA/PETG Interface layer, opposite whatever you are using for the primary filament. If you print with PLA, use PETG for interface layer and vice versa.
-
Print Orientation: Print base and lid separately on flat side
-
Magnet Insertion: Magnets are embedded into the base and the lid.
The lid requires a pause at layer 26 to allow the magnets to be inserted.
The base requires a pause at layer 29 to allow the magnets to be inserted.
Magnets inserted into the base should have the N Pole upwards. Magnets inserted into the lid should have the N Pole downwards.
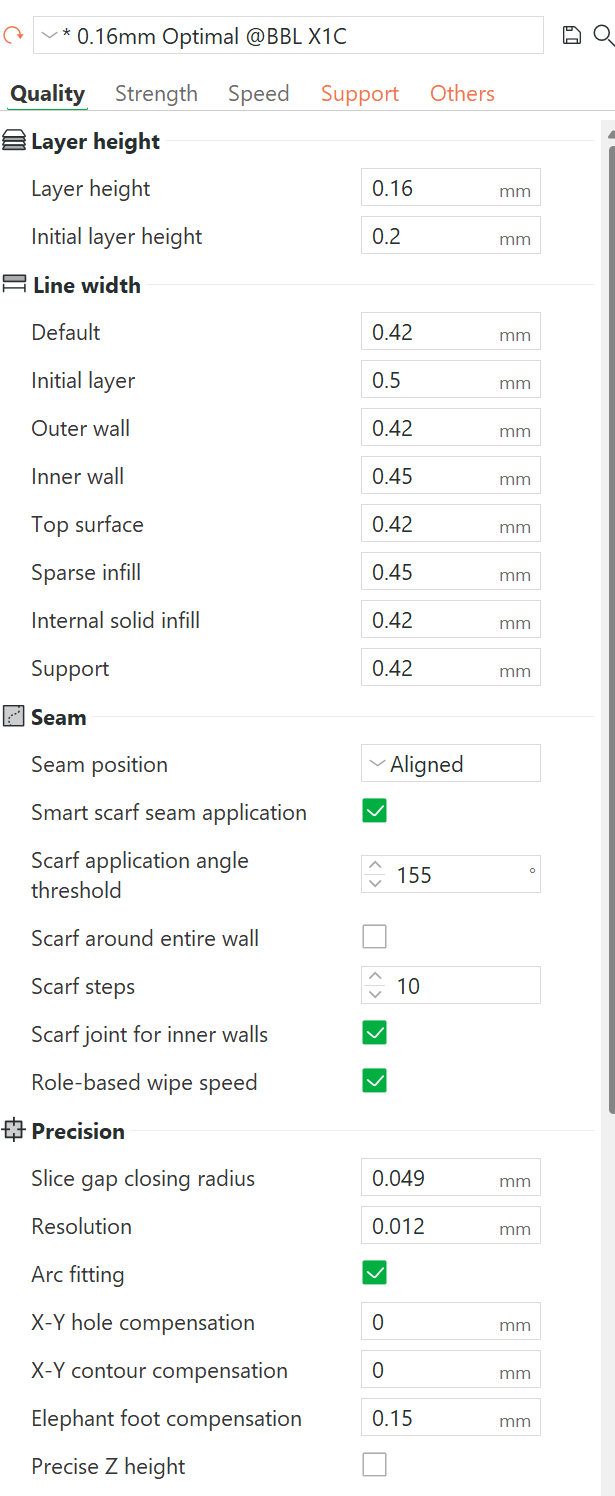
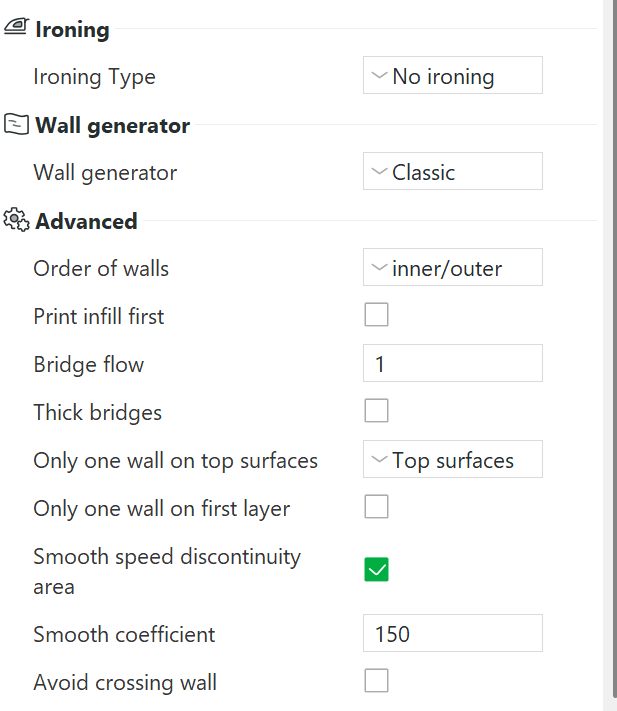
Slicer Settings
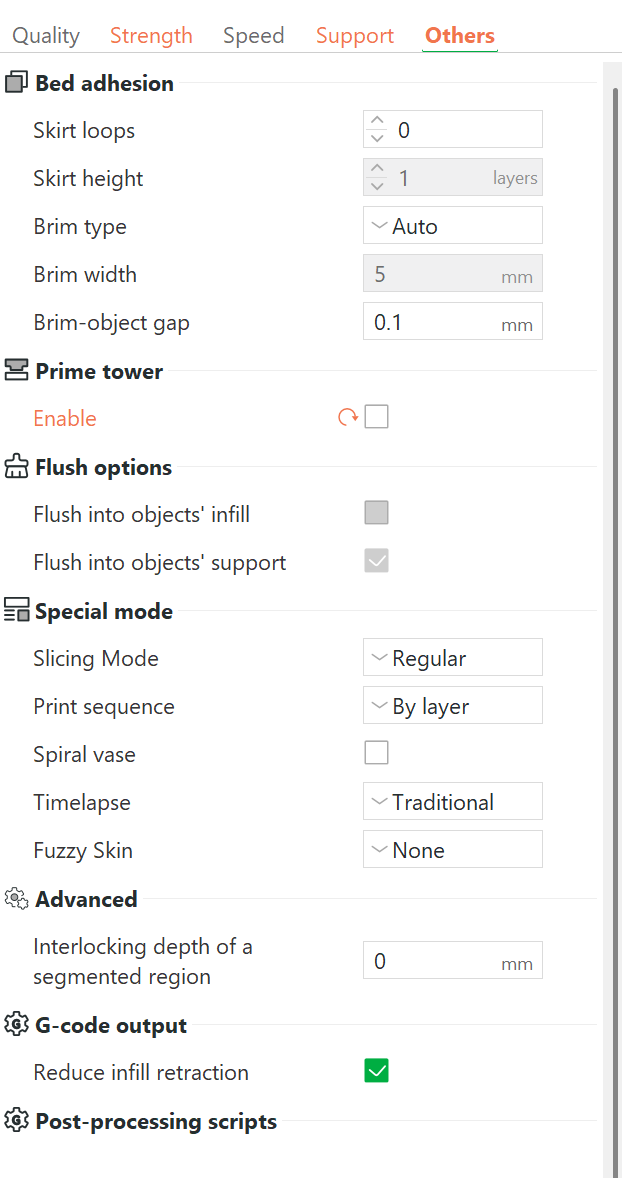
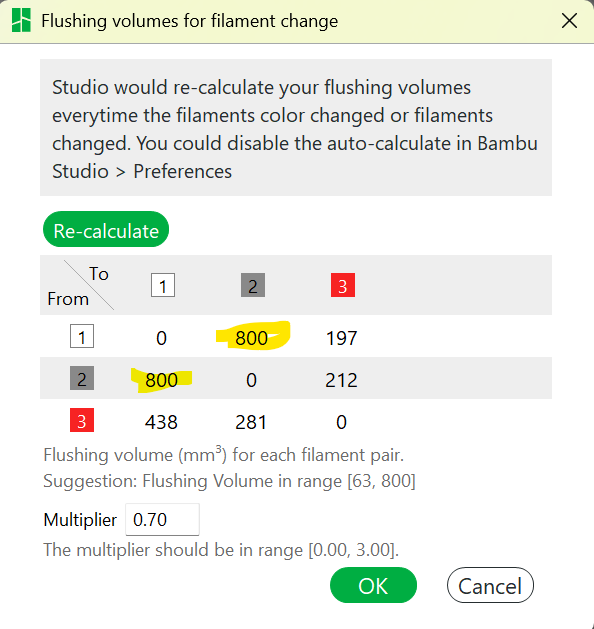
We disabled the prime tower here as PLA and PETG wont stick well to the tower. Instead we use Flushing volumes to clear the nozzle of any PETG that may be left over.
If you have trouble you can reach out to the Coinfinity Discord server for assistance. COINFINITY Discord