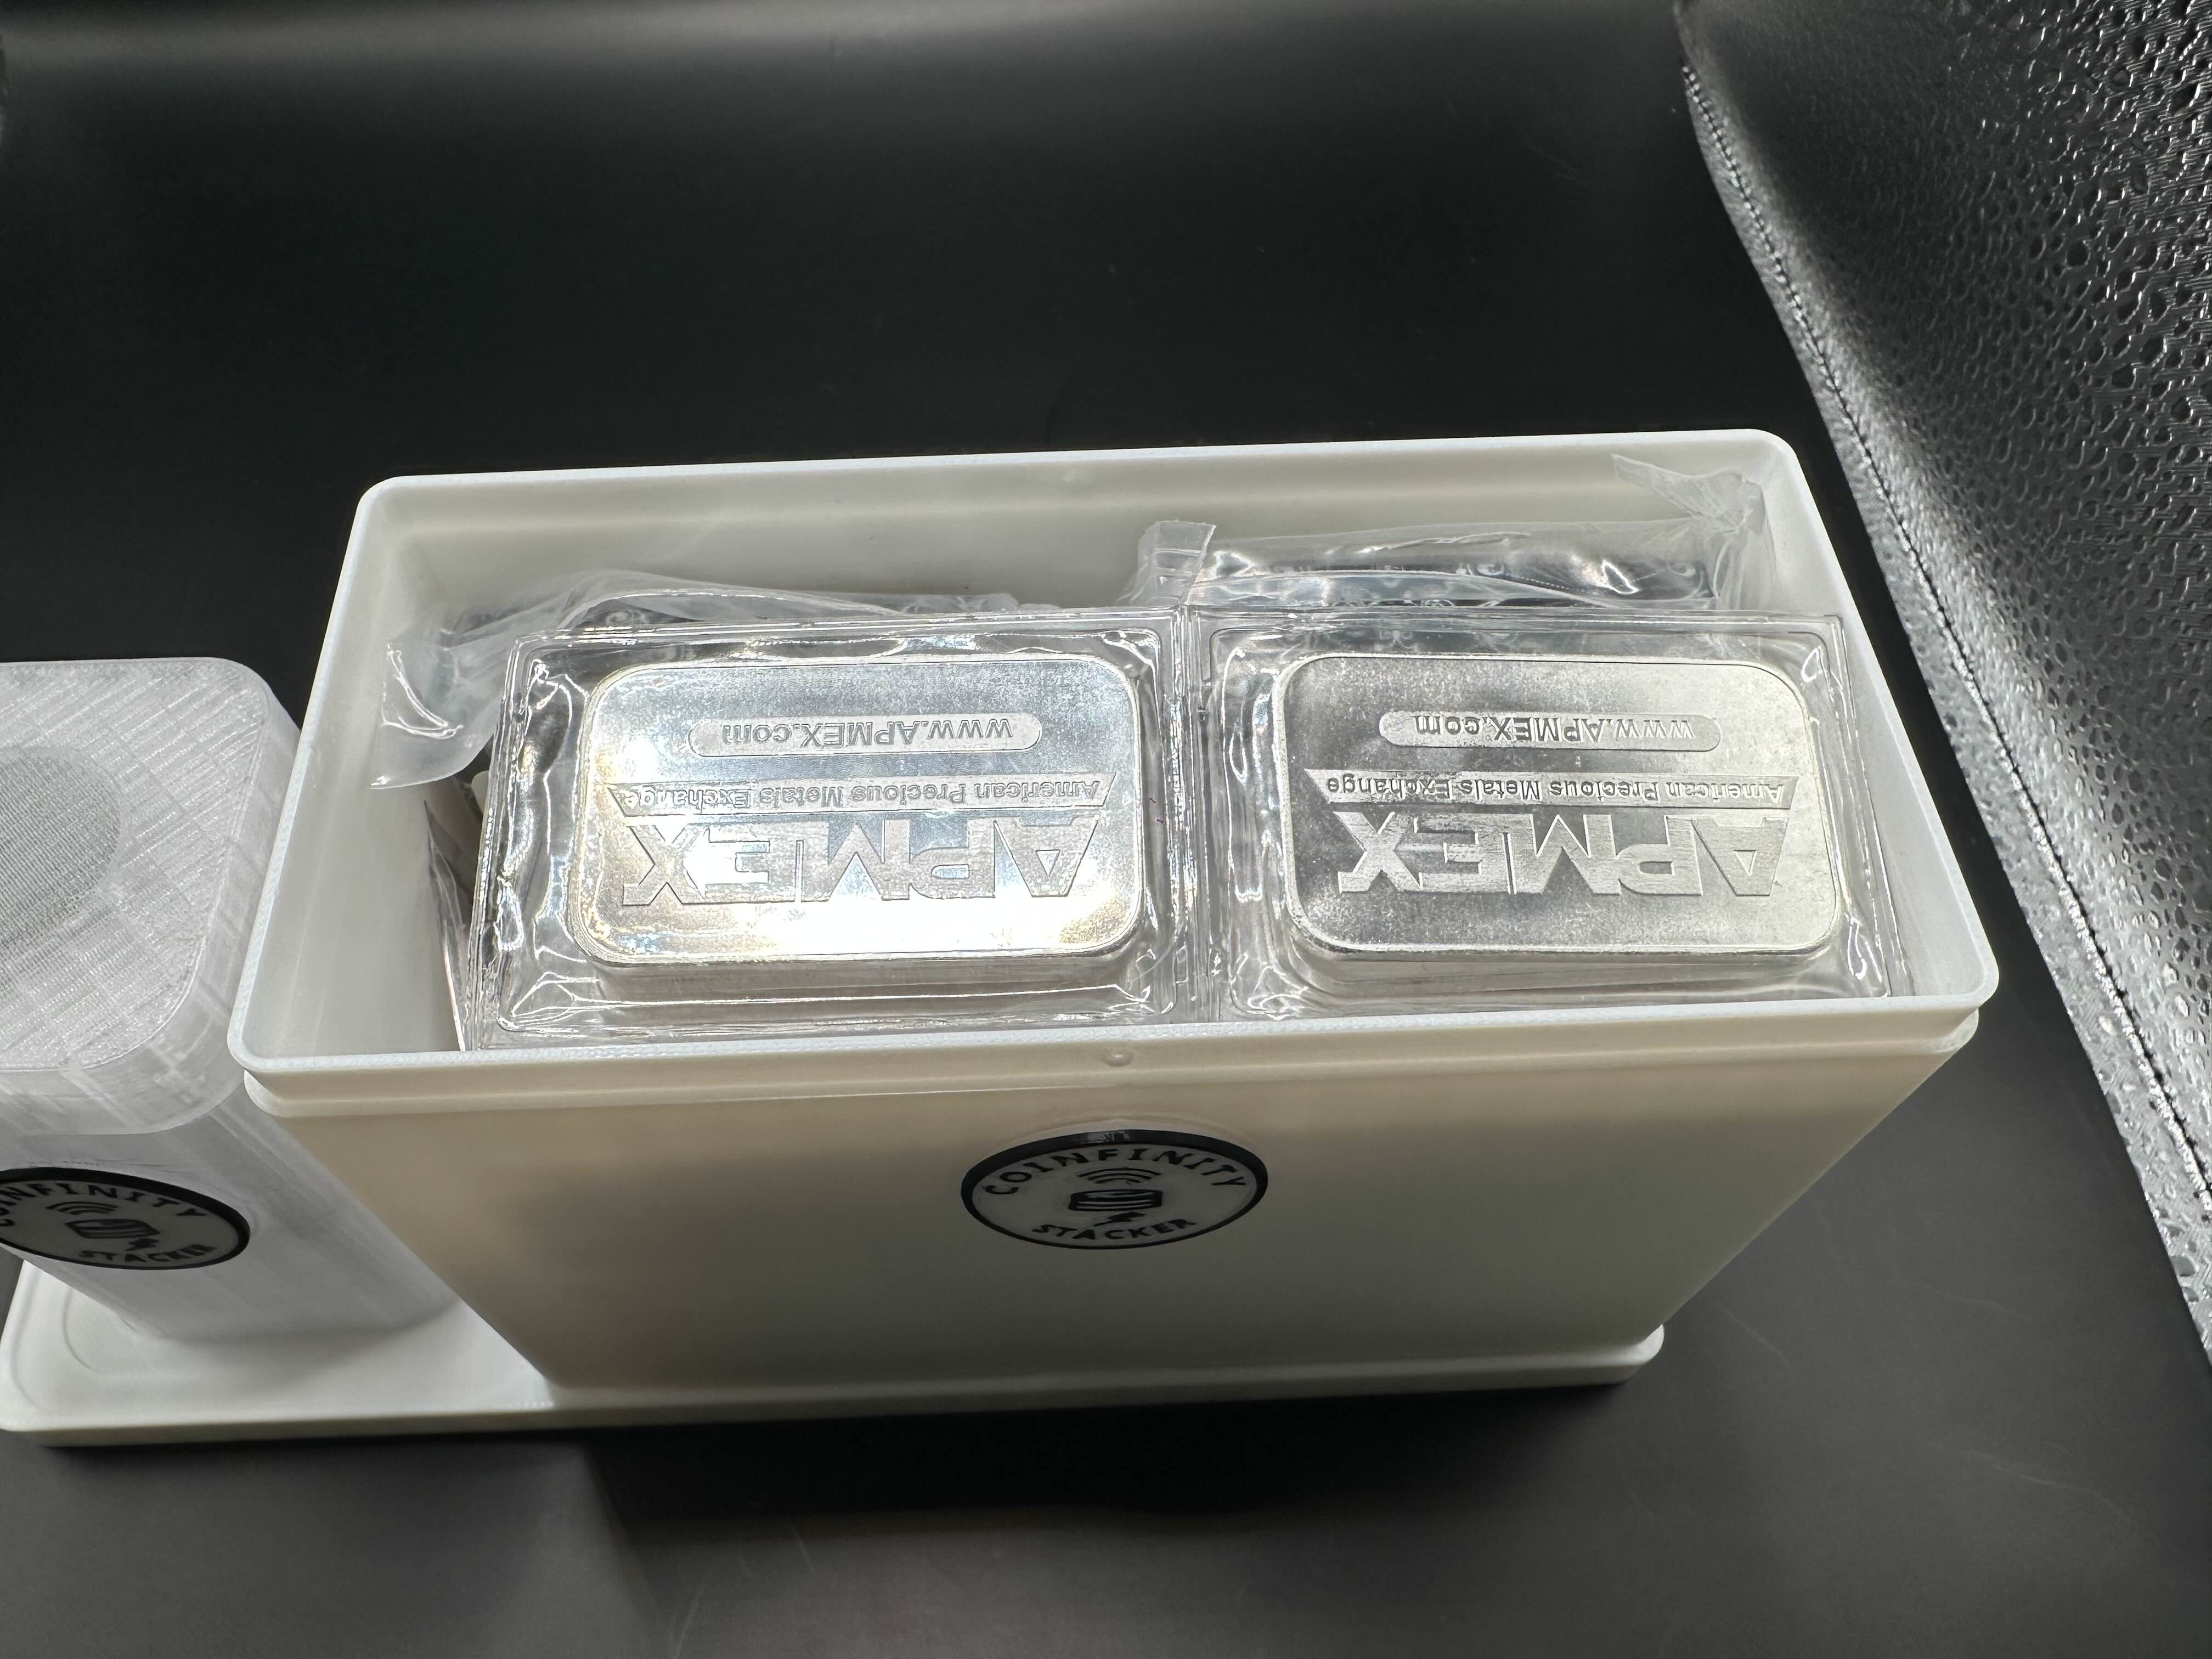
2x60 Bar Bin
Designed for secure storage of small bullion bars and ingots
Overview
- Internal Dimensions: 143mm L × 65mm W × 78mm H
- External Dimensions: 148mm L × 70mm W × 90mm H (Excluding Lid)
- Primary Use: Storing 1-10 oz bullion bars and small ingots
- Capacity: Holds approximately 24-30 standard 1 oz bars (49.78 × 28.96 × 2.29 mm each)
- Material: PLA or PETG
- Color Options: White, Black, or Custom
Table of contents
Features
- Secure Lid: Snug-fitting lid to protect contents
- Stackable Design: Magnetic Interlocking design for secure stacking
- NFC Ready: NFC tag integration for digital tracking
- Foam Insert: Optional foam padding to prevent bar movement (5mm thickness)
Compatible Contents
- 1 oz Gold/Silver Bars (various mints)
- 10 oz Silver Bars (smaller sizes)
- Fractional gold bars
- Small ingots and poured bars
- Small collectible bars
Technical Specifications
- Wall Thickness: 2.5mm
- Base Thickness: 7.0mm - with 4mm Magnet Well
- Lid Type: Snap-fit
- Weight: ~55g (empty)
- Foam Insert Thickness: 5mm (optional)
Model Files
- 3D Models will be available soon on Makerworld! Makerworld
Printing Recommendations
- Layer Height: 0.2mm
- Infill: 20% (30% for added strength)
- Supports: Required on Base connector, but 2 cylinder and one cube support blocker should block magnet holder and badge circle, they don’t need support. Use PLA/PETG Interface layer, opposite whatever you are using for the primary filament. If you print with PLA, use PETG for interface layer and vice versa.
-
Print Orientation: Print base and lid separately on flat side
- Magnet Insertion: Magnets are embedded into the base and the lid.
The lid requires a pause at layer 26 to allow the magnets to be inserted.
The base requires a pause at layer 29 to allow the magnets to be inserted.
Magnets inserted into the base should have the N Pole upwards. Magnets inserted into the lid should have the N Pole downwards.
Assembly
- Print the base and lid separately
- Insert magnets into the base and lid while printing (see 3d printing instructions for more details)
- Ensure the lid fits snugly on the base
- For NFC functionality, insert the NFC Badge in the designated slot
- Add your bar(s) to the bin, use foam padding if desired to reduce movement
- Record the contents in Coinfinity App / NFC Tag
Maintenance
- Clean with a soft, dry cloth
- Avoid harsh chemicals
- Store in a cool, dry place